
Mystery Case Files:
Escape from Ravenhearst
Collector's Edition Walkthrough
...at margotbean.com
Act IV - The Asylum
- Listen to Charles' greeting. Are you starting to feel sorry for him yet?
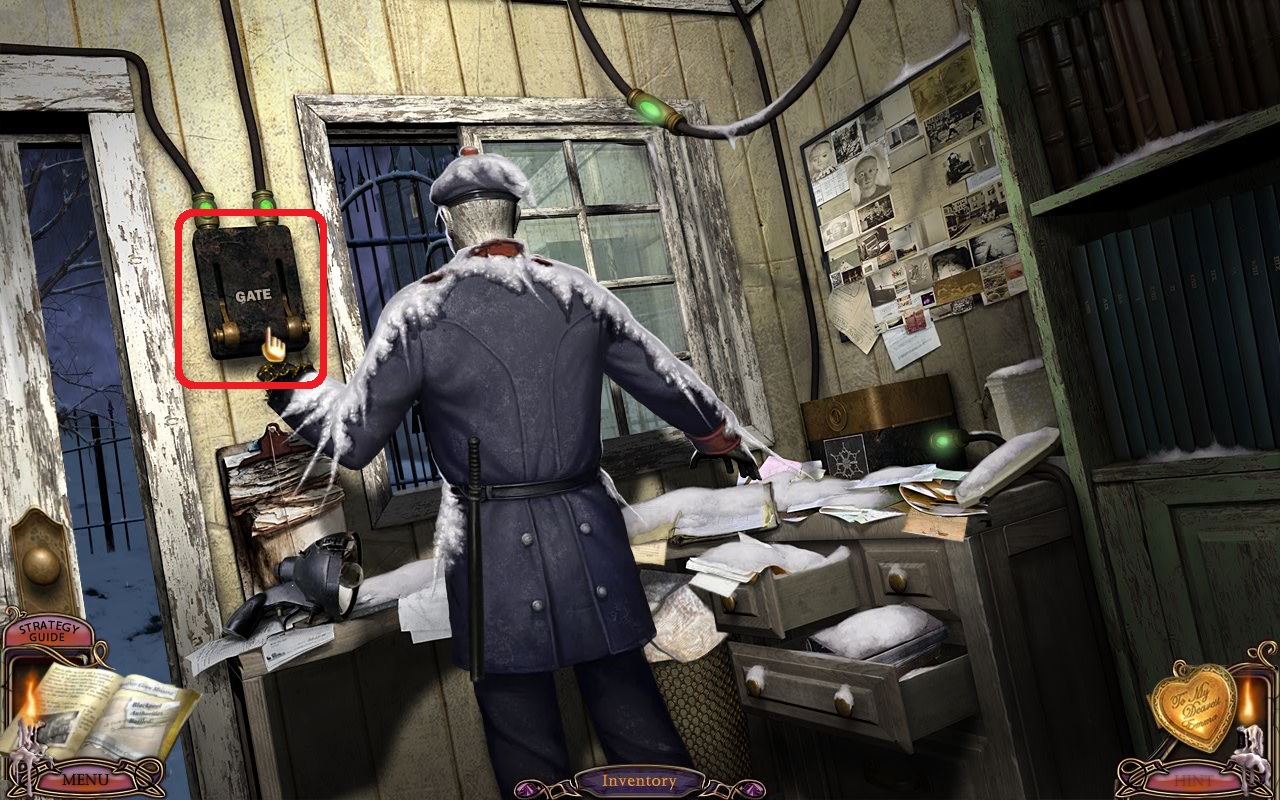
- Click at the right of the screen to enter the gatekeeper's station.
- Click on the bulletin board on the right for a COS.
- Click on the thirteen changing objects.

- Click on the gate switch to open the gate.
- Exit the gatekeeper's station, and go through the main gate.
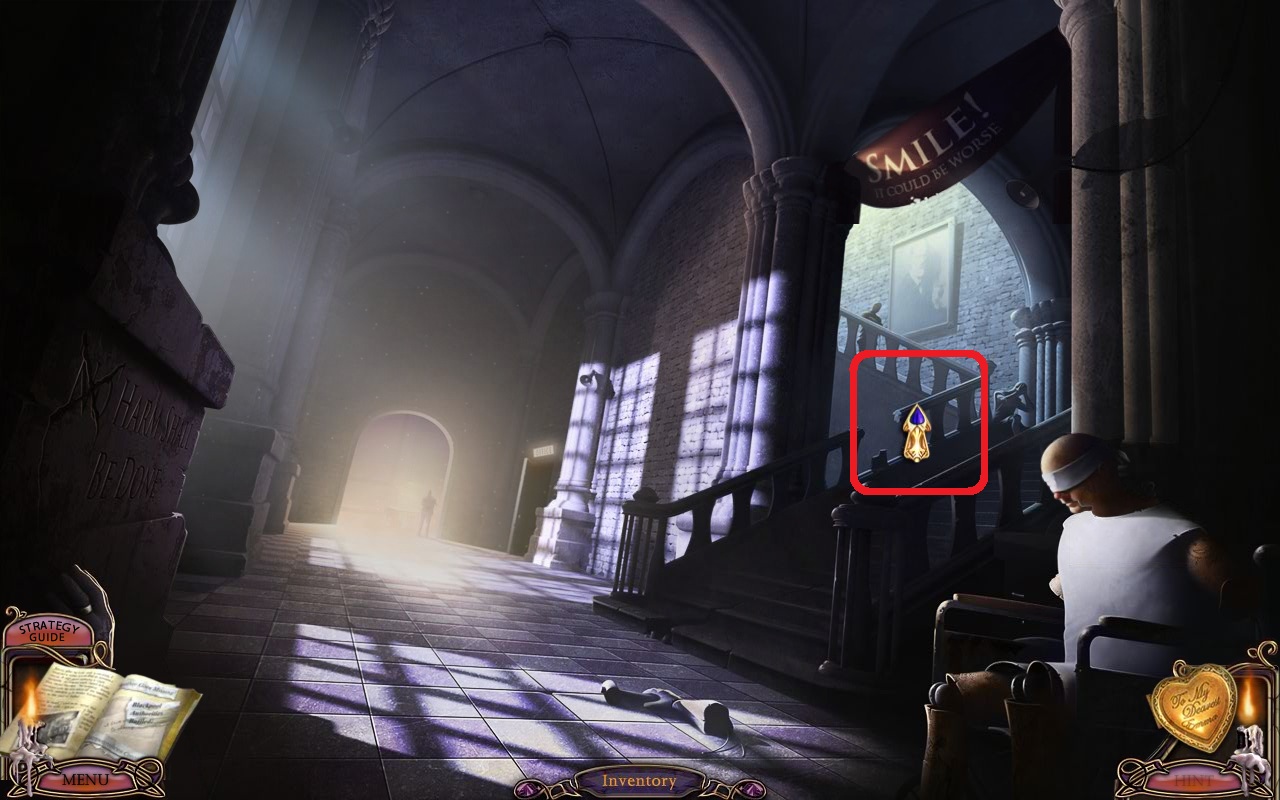
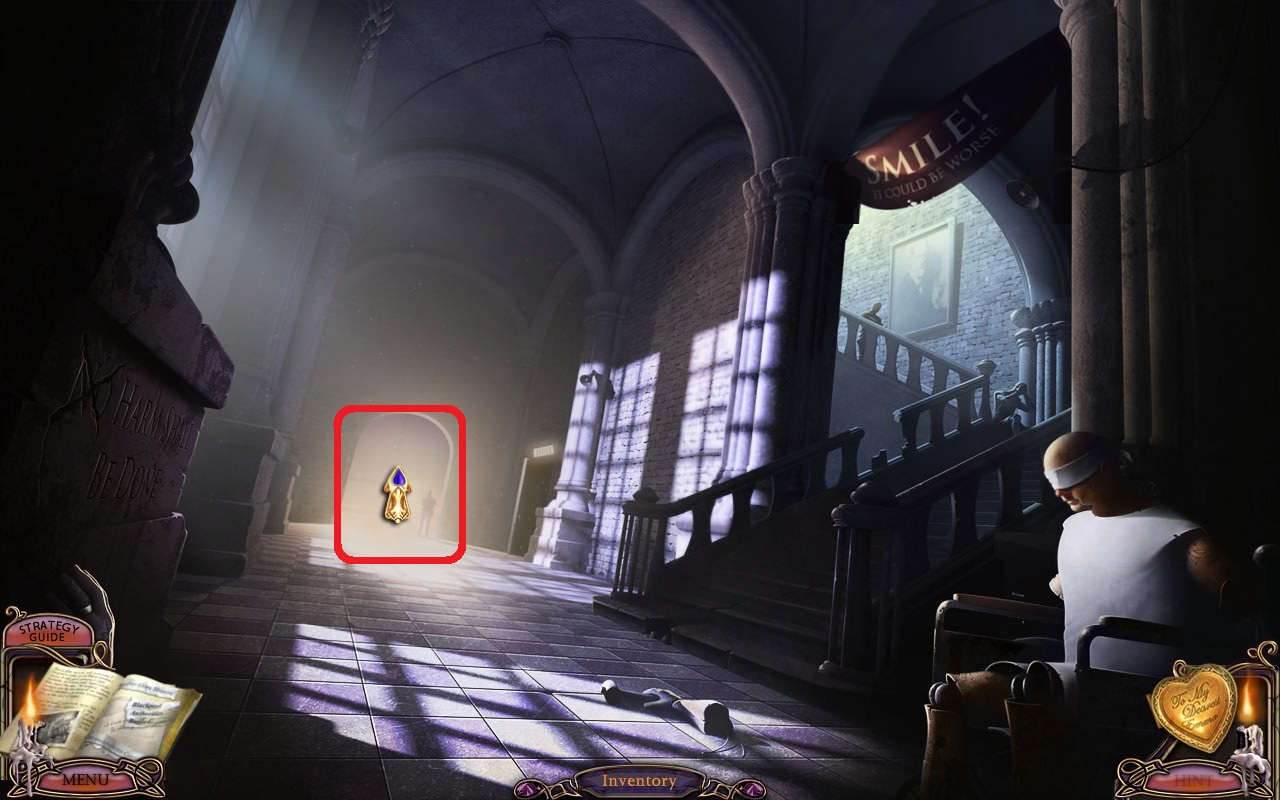
- Click on the couple on the right to zoom in.
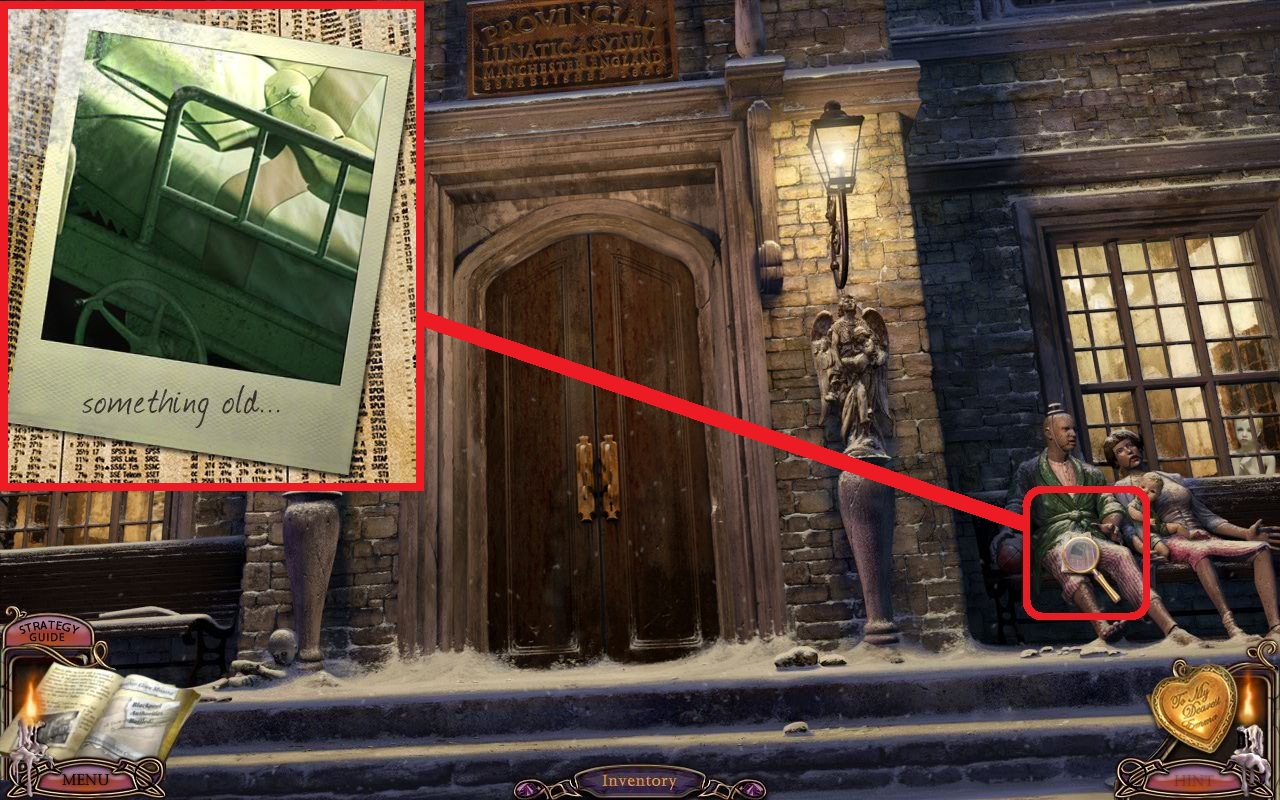
- See a picture of "something old..." We'll collect that later. For now, enter the Asylum.
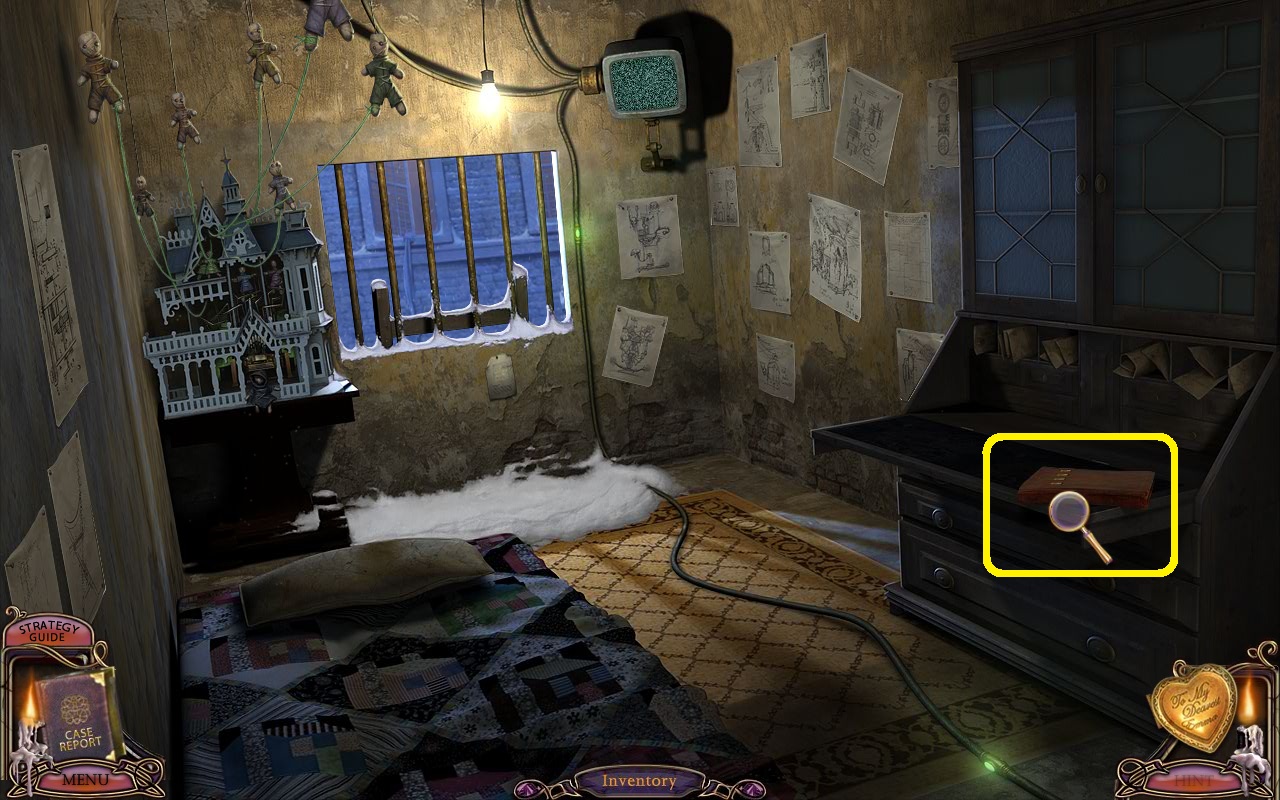
- Click at the far right to enter the office.
- Click on the candlestick on the right of the mantle.
- Examine the left of the screen, where the bookcase was.
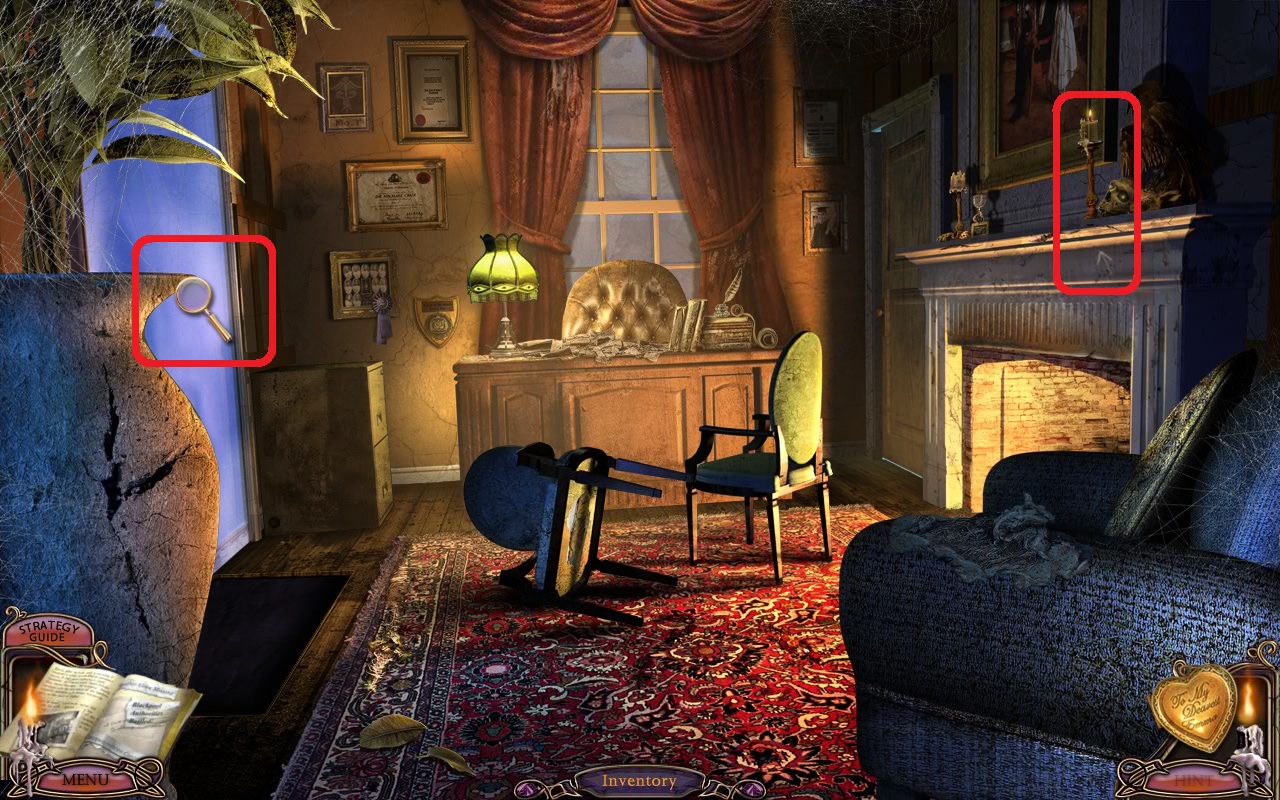
- Click to zoom in on the picture of "something borrowed..."
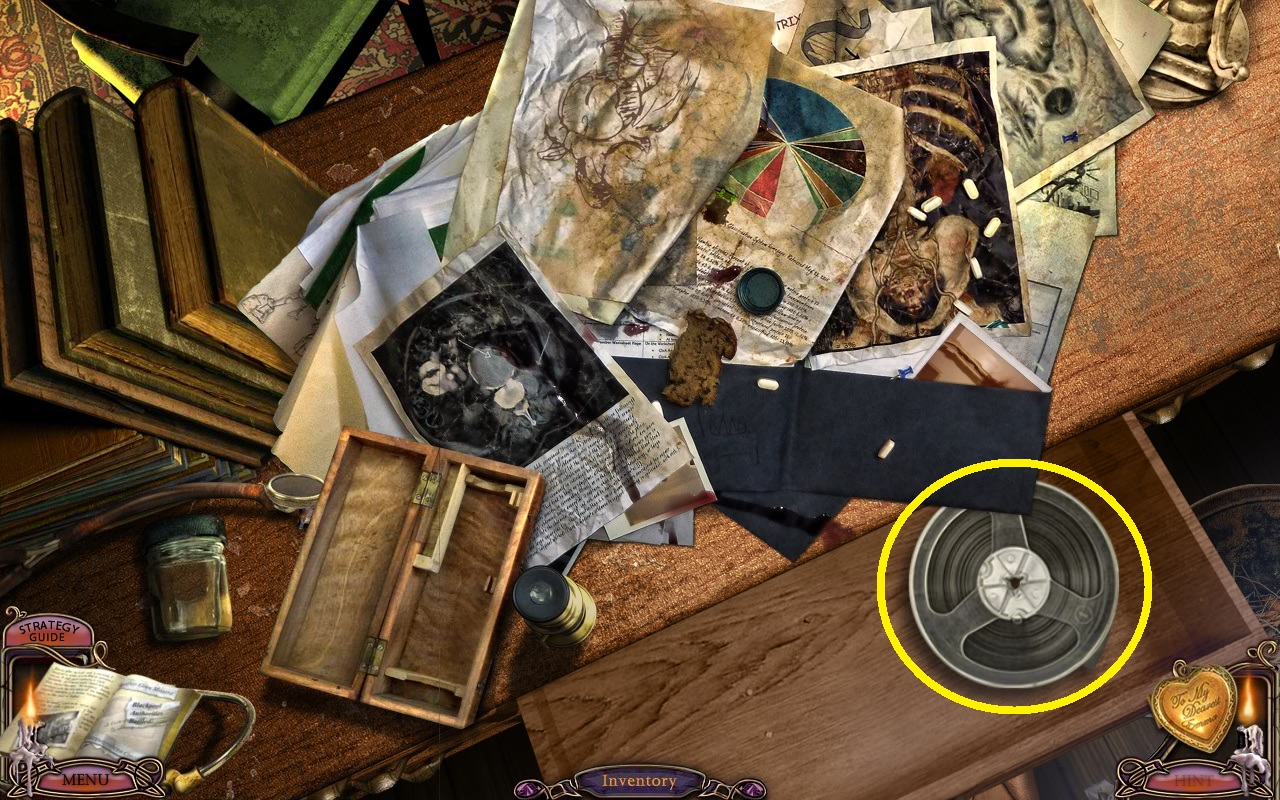
- Click on the desk for a COS.

- Click on the twelve changing objects.
- Click to take the tape REEL.
- Go through the door at the far right to enter the security room.
- Click on the chair and take the PICK AXE.
- Click on the shelf on the left for a closeup.
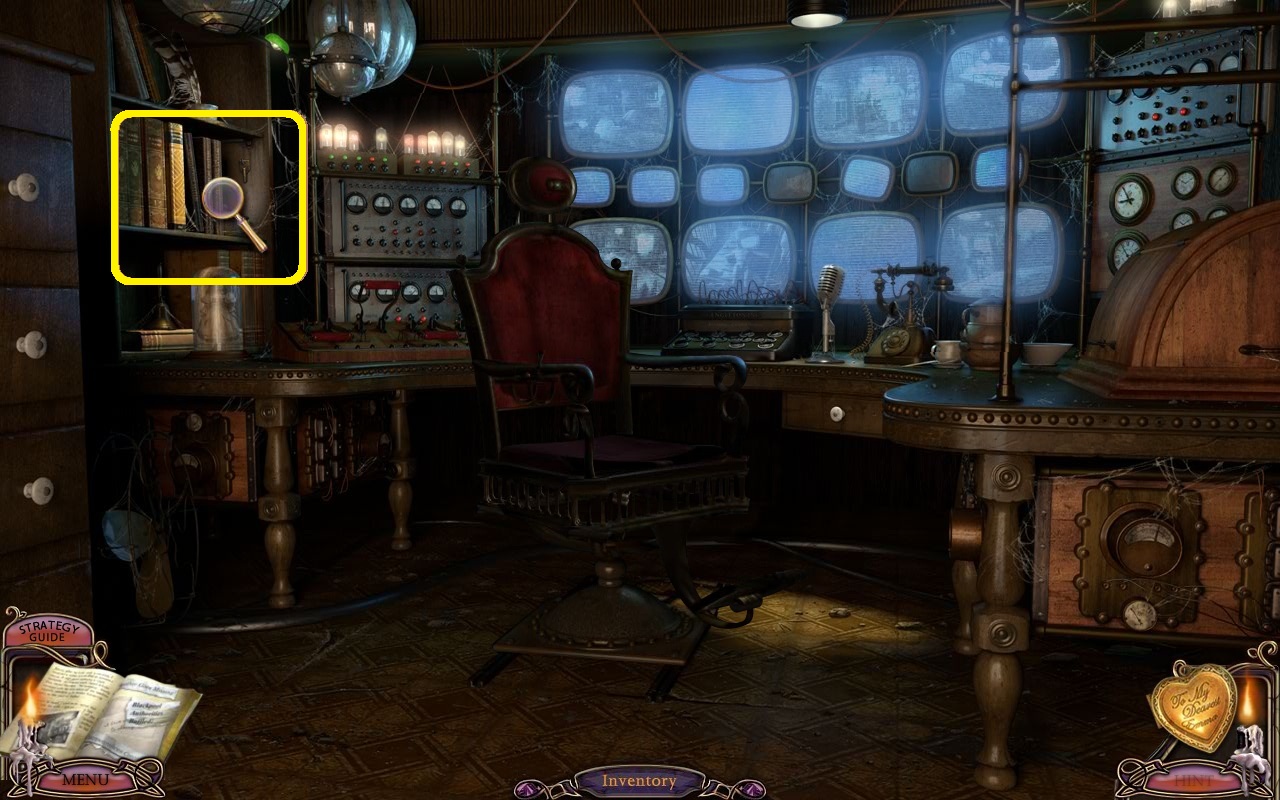
- Take the CABINET KEY.
- Click on the book to open it. It seems there's a connection between Cell Block A and Ventilation Shaft 4.
- Leave the security room.
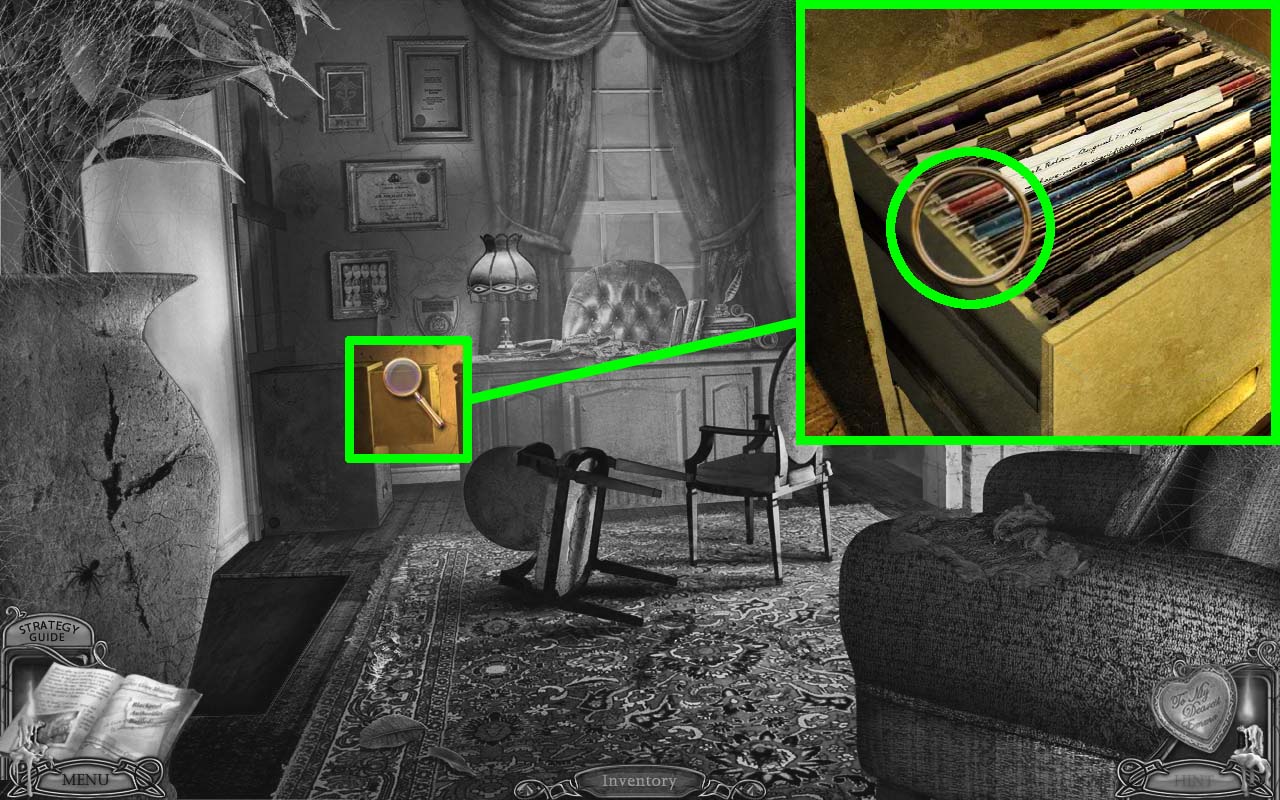
- Back in the office, zoom in on the file cabinet on the left.
- Use the CABINET KEY to unlock it.
- Click on the cabinet again.
- Click on the paper to read the lab notes.
It seems we can create a tranquilizing tonic using blood, sweat, and tears. - Exit the office.
- Go upstairs.
- Go left at the landing.
- Click on the door on the left.
- Enter the room for a COS.
- Click on the ten changing objects.
- Click on the book on the right.
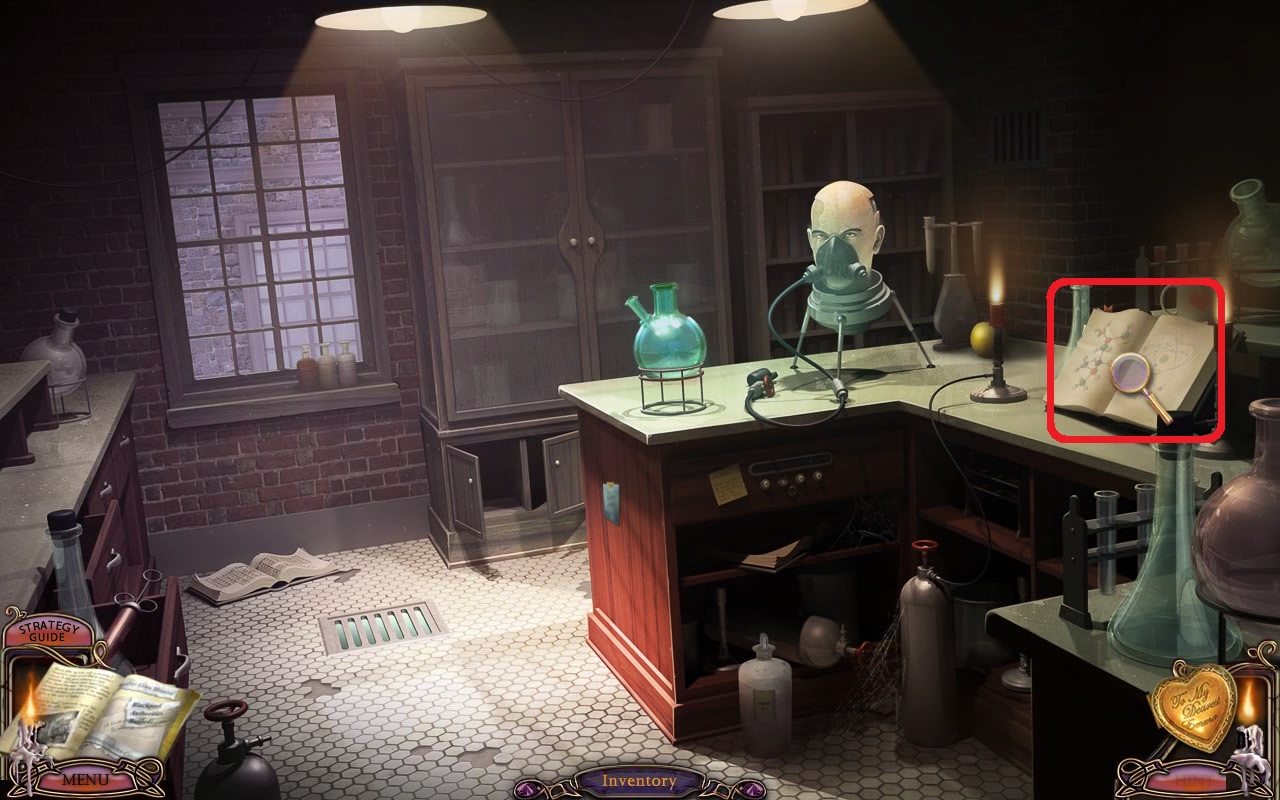
- Click on the right page.
- Take the EYEDROPPER.
- Zoom in on the green sticky note (this adds a page to your Case Report Book).
- Zoom in on the yellow sticky note.
- Zoom in on the book on the floor below the window.
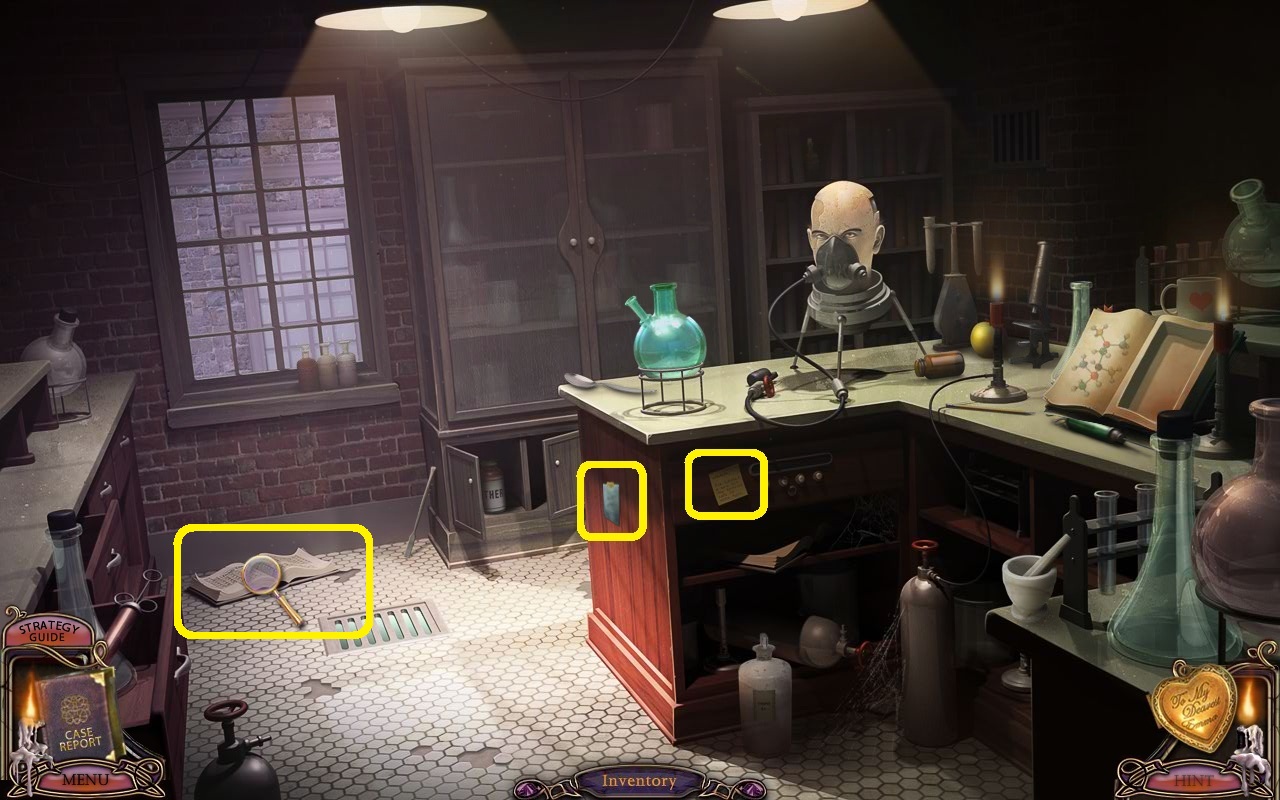
- Zoom in on the yellow sticky note again for a puzzle.
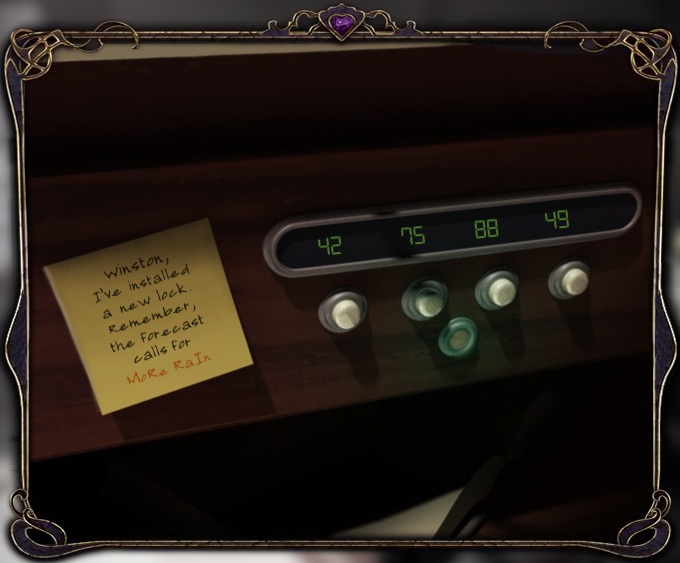
MoRe RaIn Puzzle
Your goal is to get the drawer open by entering the correct numbers using the white dials.
The clue is on the yellow sticky note: MoRe RaIn. The letters refer to chemical elements.
Conveniently, the book on the floor contains a periodic table of elements. It shows the atomic number of MO = 42, RE = 75, RA = 88, and IN = 49.
By clicking on the white dials, set the numbers to 42, 75, 88, 49.
- The drawer opens. Take the LIQUID NITROGEN.
- Leave this room. Back in the hallway, click on the door on the right.
Asylum Door Puzzle
This puzzle has four stages...but if you really want to, you can skip the first 3 and complete Stage 4 to open the door.
Stage 1
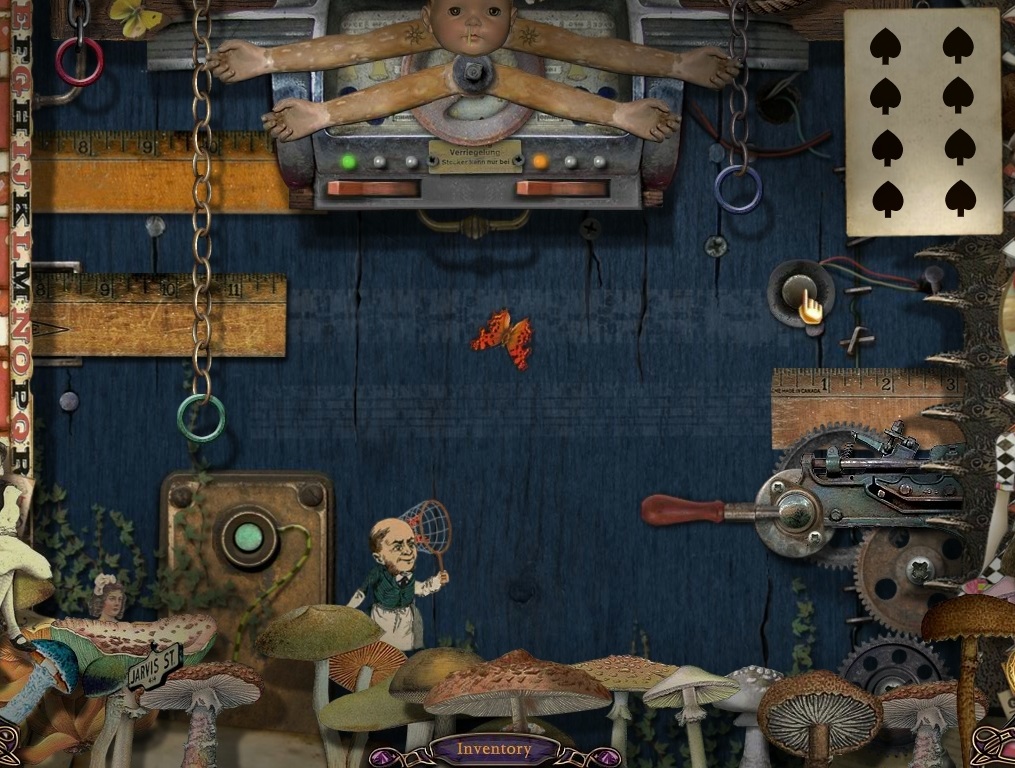
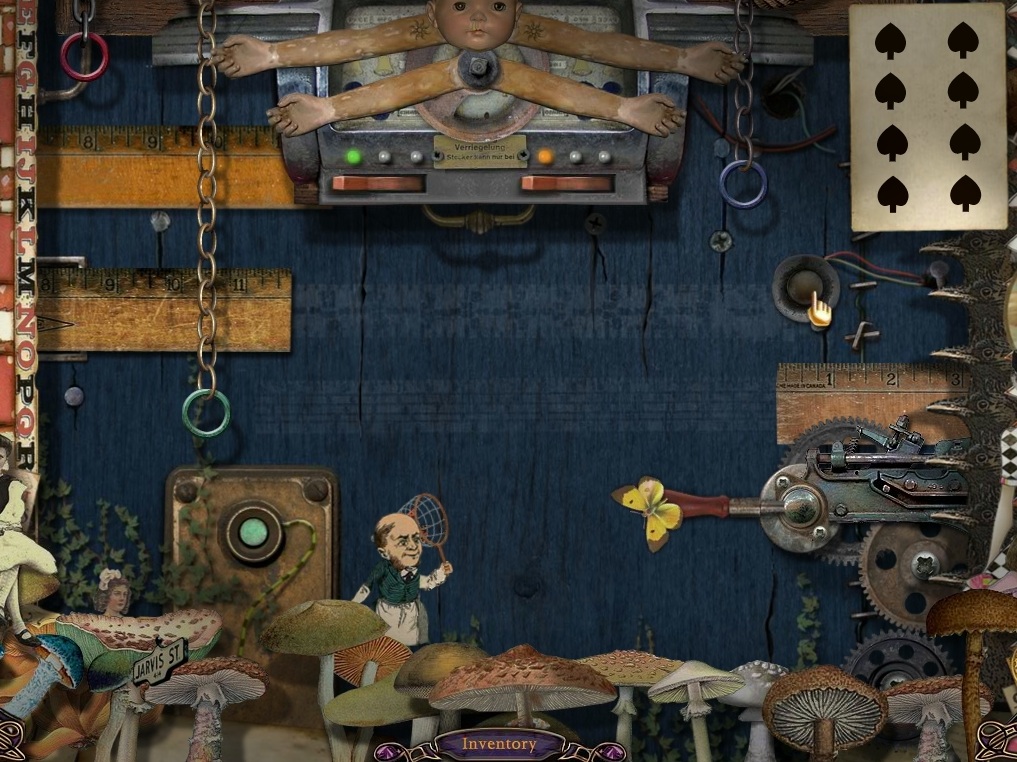
Click on the three butterflies to get them flying around. Click on the silver button to activate the butterfly net. You must catch all three butterflies in the net.
You might have to watch their flight patterns for a while before you get it right.
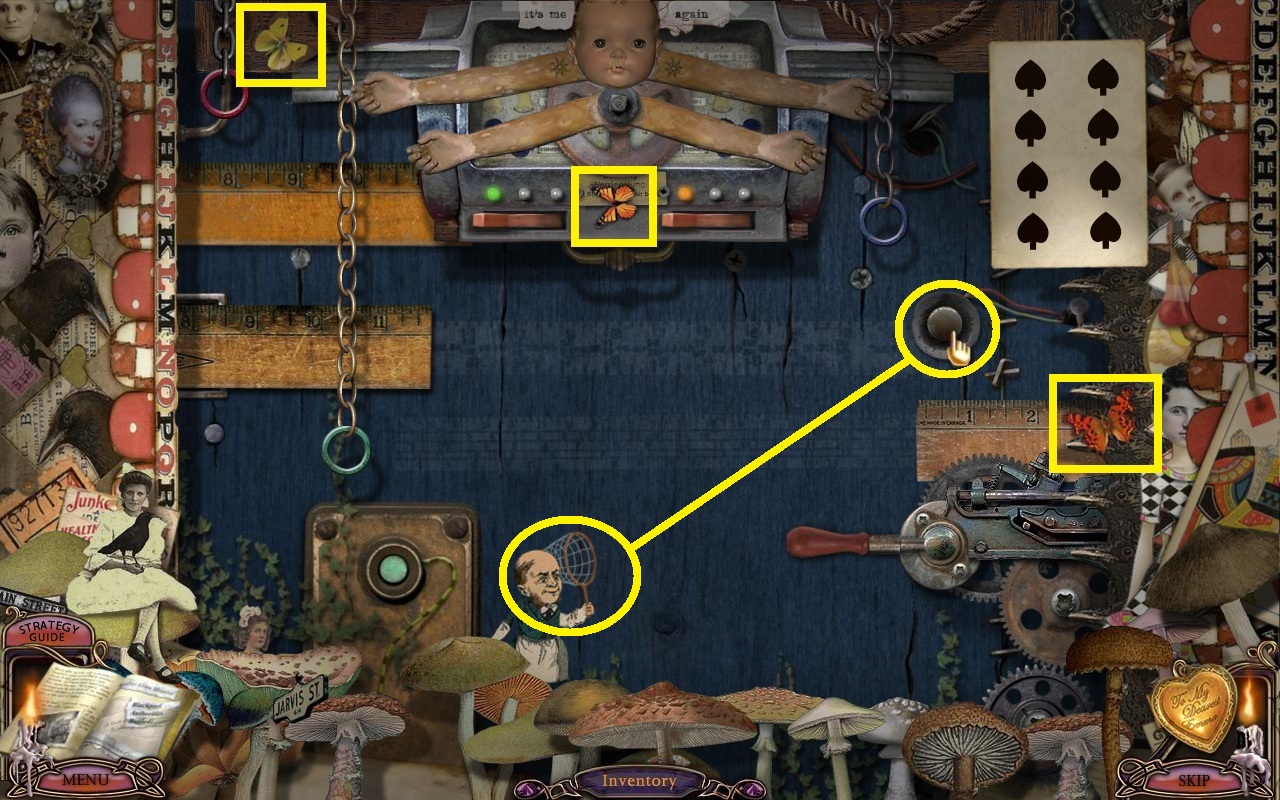
If it helps, below are the exact moments when I clicked the net button and caught the butterflies. Each was heading towards the net at the time.

When you catch all three, a paper doll holding a red 9 pops up on the lower left.
Stage 2
Click the letters shown on the left, in order, using the spades on the playing card on the right.

Your handicap is that the card flips each time you click on an incorrect letter.
The letters are in random spots each time you play. But, they don't change mid-puzzle. So, you can click on them repeatedly and make yourself a little chart to help.
Click on E, G, I, J, L, N, O, and Q in order.
When done, the card flips and contains a green 3 in the middle.
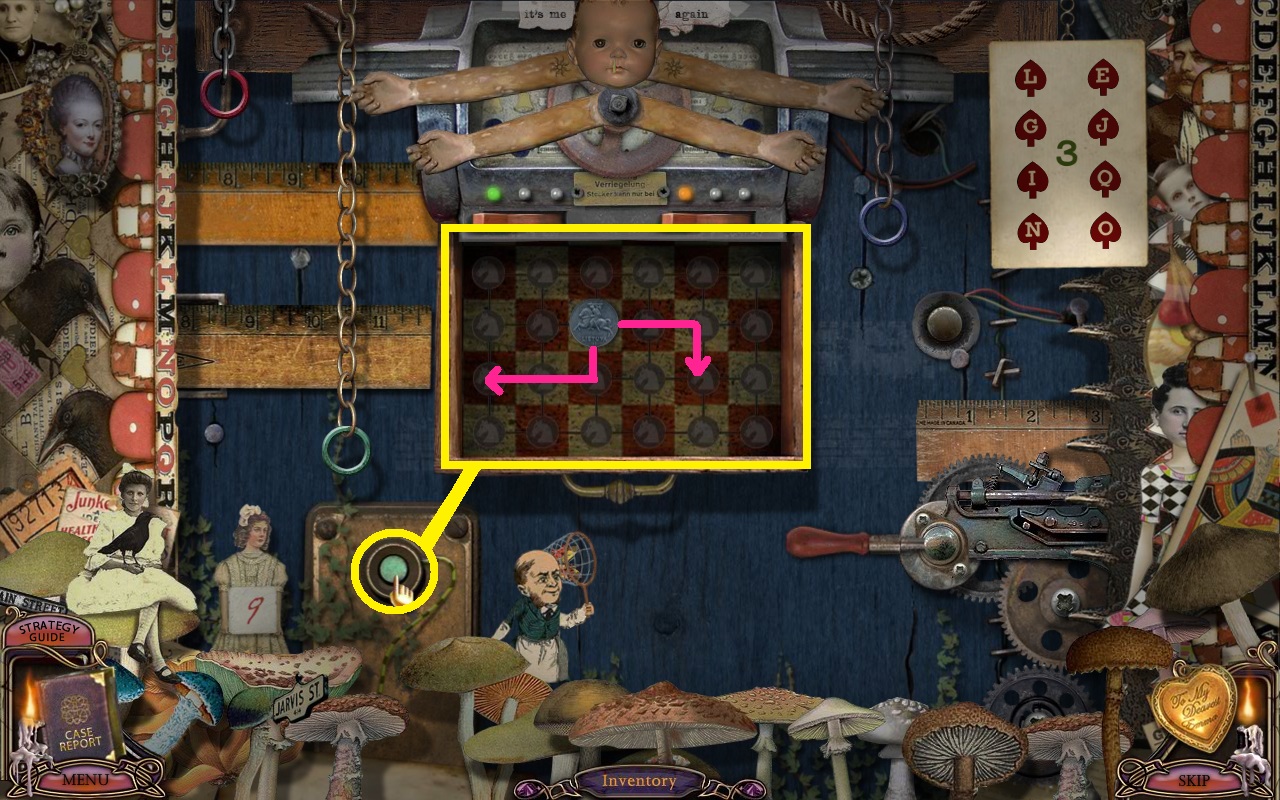
Stage 3
Click on the green button to open a drawer containing a chess piece, the knight. Your goal is to move the knight around the board and turn on all the lights.
The knight moves in an L-shaped pattern; that is,
- 2 right/left then 1 up/down,
- 1 right/left then 2 up/down,
- 2 up/down then 1 right/left,
- or 1 up/down then 2 right/left.
Stage 3 Solution
Number the columns from A to F and the rows from 1 to 4.

From the start position at C2, move to:
- A1, B3, C1, A2, B4, D3,
- B2, A4, C3, B1, A3, C4,
- E3, D1, F2, E4, D2, F1,
- D2, F3, D4, E2, F4, D3,
- E1, D3, E1, F3, D2, F3, E1.
When done correctly, the drawer closes revealing a card with a blue 5.
Stage 4
Your goal is to place each colored ring-on-a-chain over the correct number on one of the rulers.
The green ring goes over 3, the blue over 5, and the red over 9.
The doll's arms move the rings up and down, and the lever on the lower right moves the rulers. Drag the doll's lower arms down to lower the rings. Drag the upper arms up to raise the rings. Drag the lever around in a circle to move the rulers.
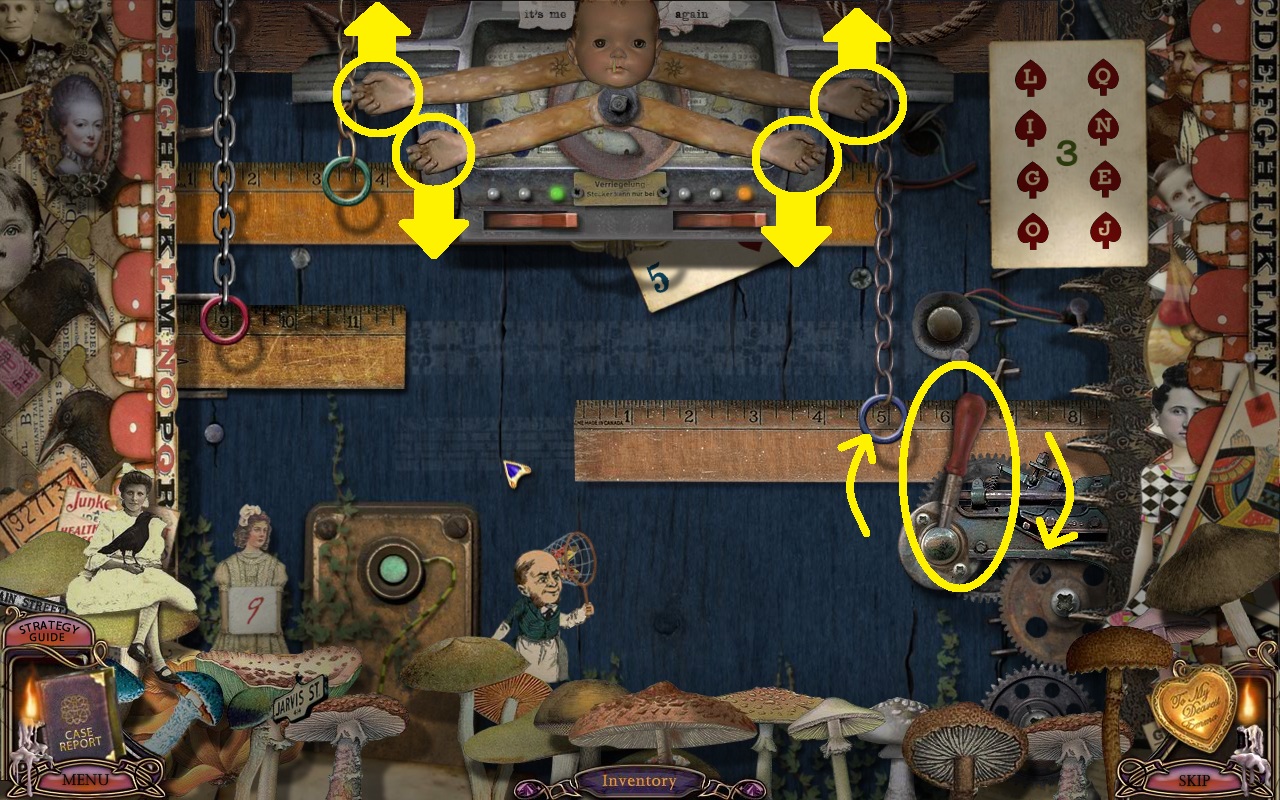
The switches below the doll's arms control which ring and ruler will move. The switch on the left controls the rings, and the right controls the rulers.
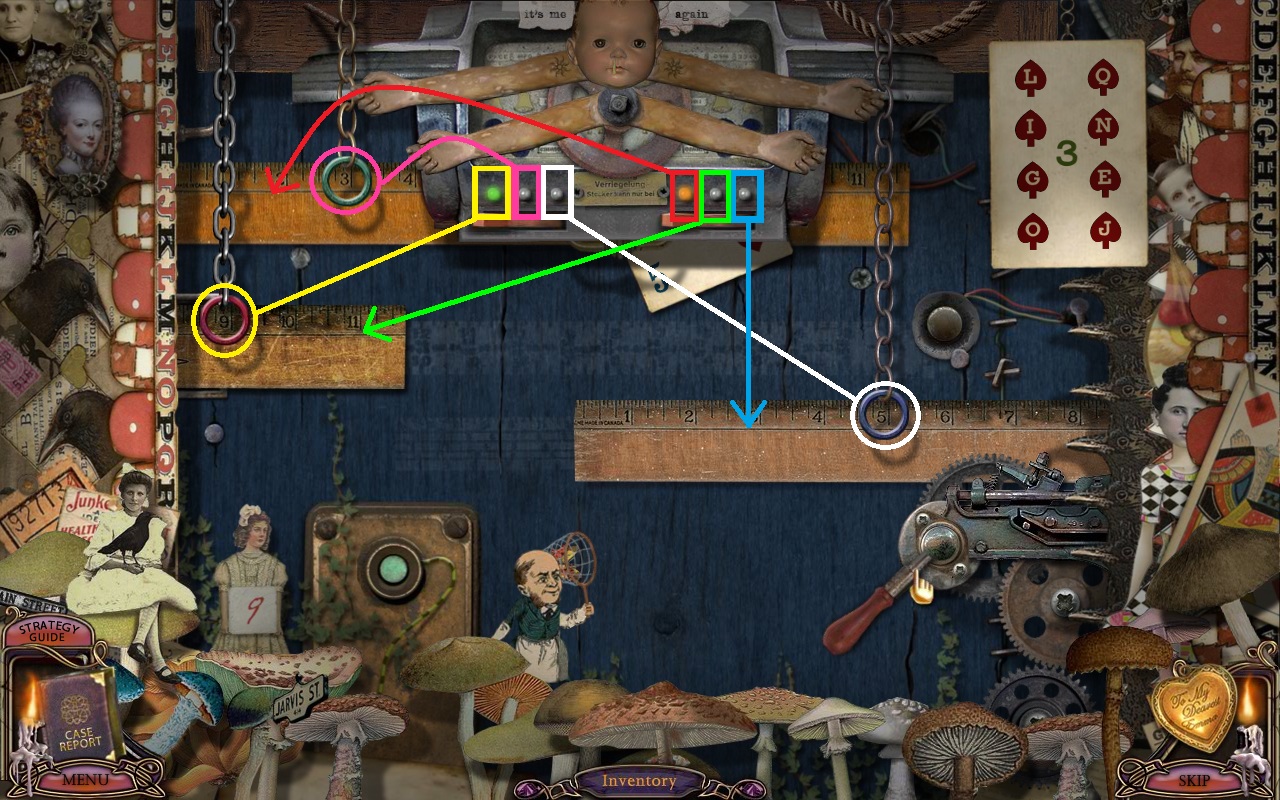
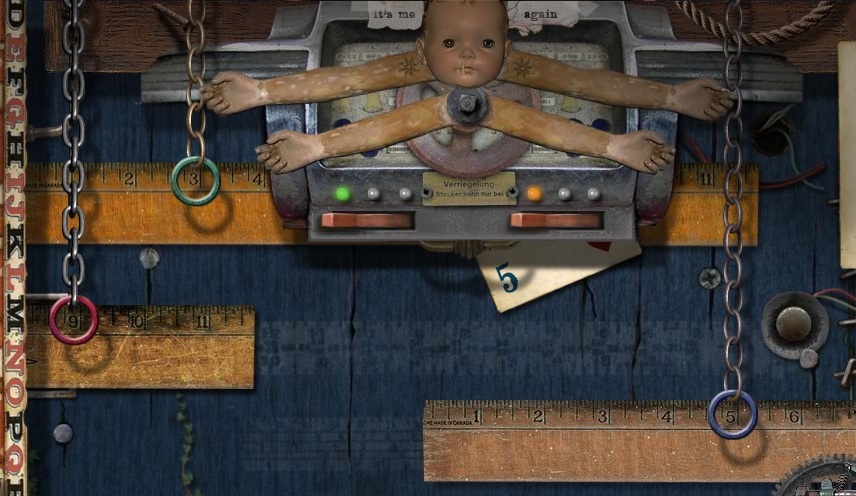
Shown below is the correct position of the rings and rulers.
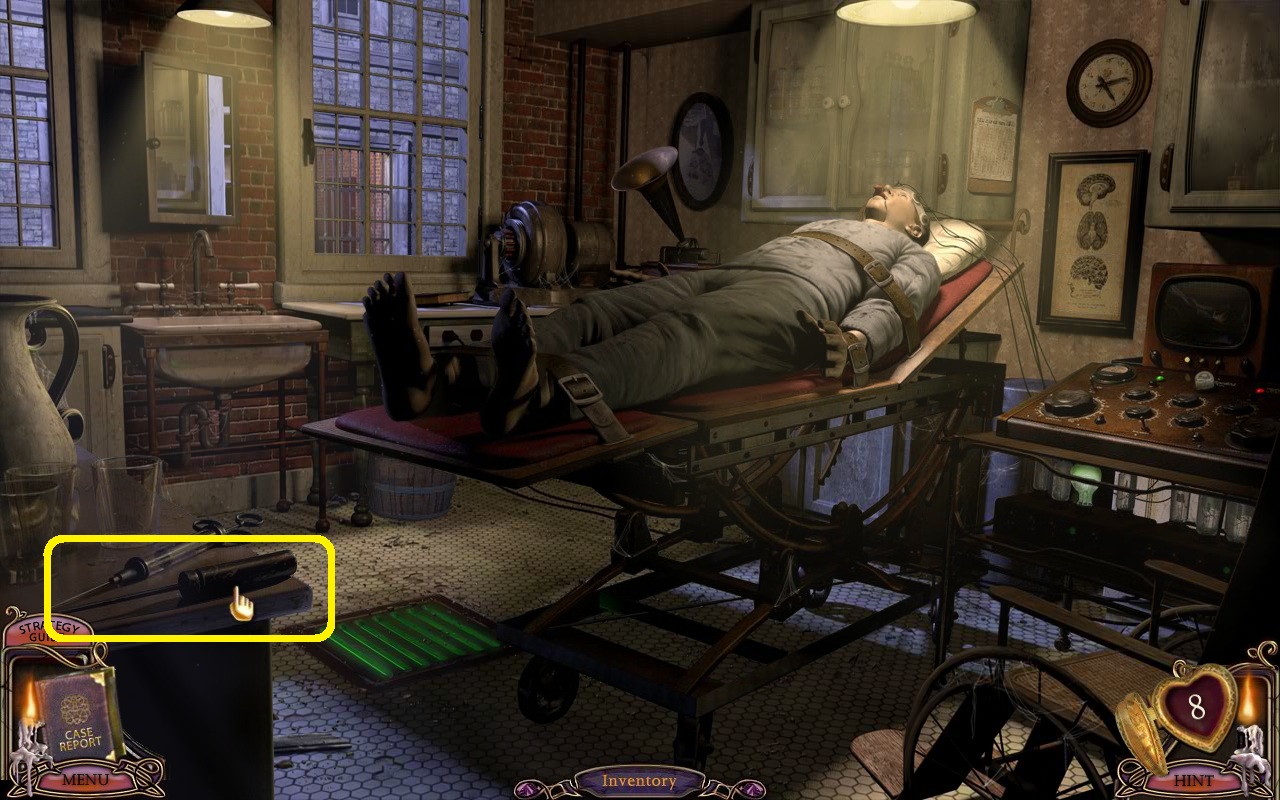
- The door on the right opens (finally!). Enter the room for a COS.
- Click on the eight changing objects.

- Take the ICE PICK from the lower left of the screen.
- Zoom in on the mannequin's face.
- Click the EYEDROPPER on the mannequin's cheek to get a DROPPER OF SWEAT.
- Go back to the room on the left and zoom in on the green beaker.
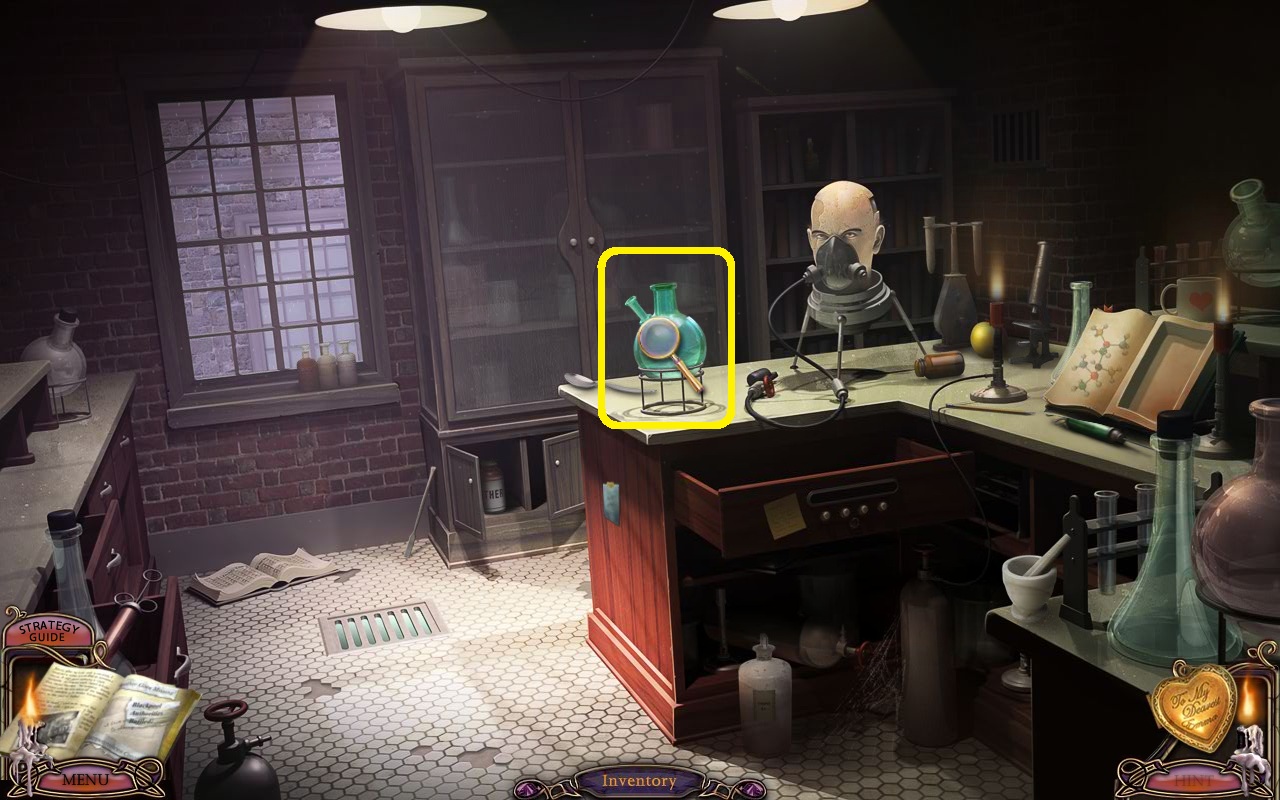
- Click the DROPPER OF SWEAT on the green beaker in closeup.
- We've added the sweat, now we need blood and tears.
- Go back to the Hospital.
- Go down the hall to the surgery room, and zoom in on the top of the cabinet on the left.
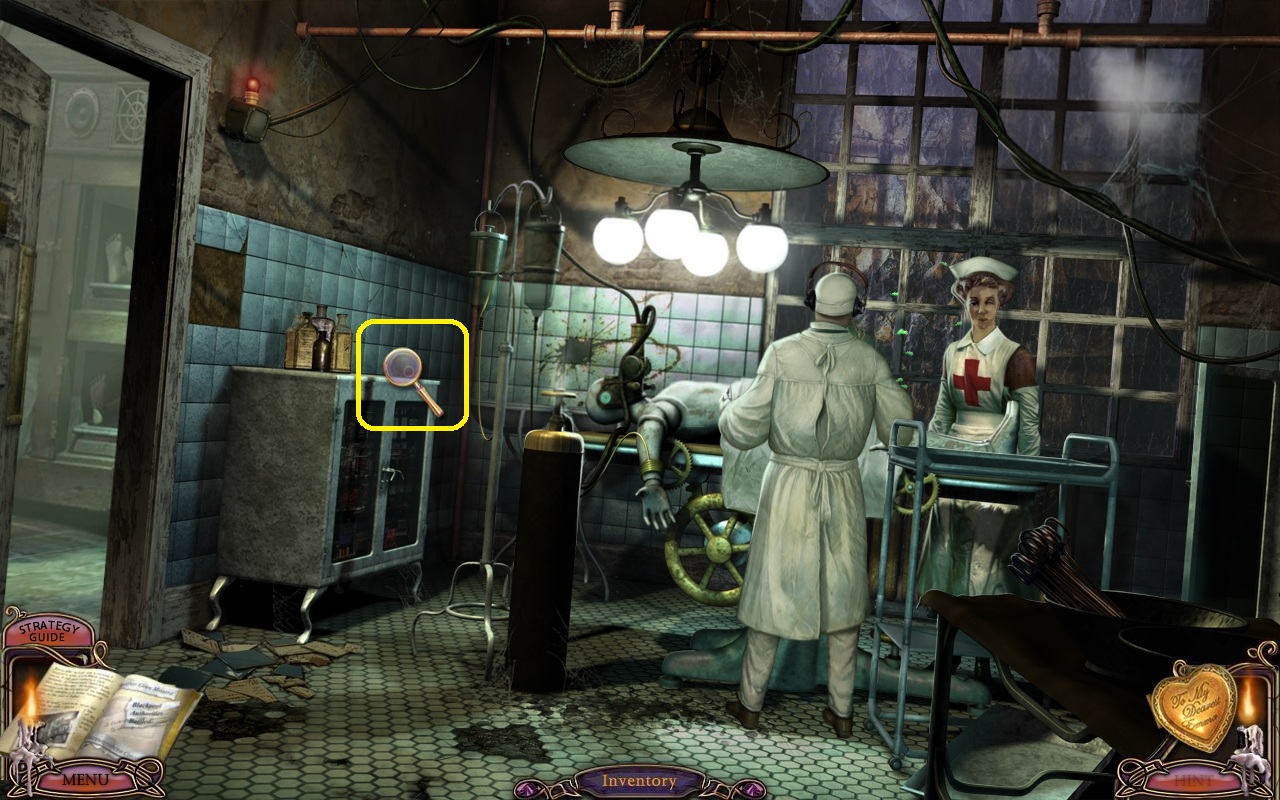
- Click the EYEDROPPER on the pool of blood to get a DROPPER OF BLOOD.
- Exit the surgery room. Back in the main hall, click on the left door.
- Zoom in on the mannequin's pillow.
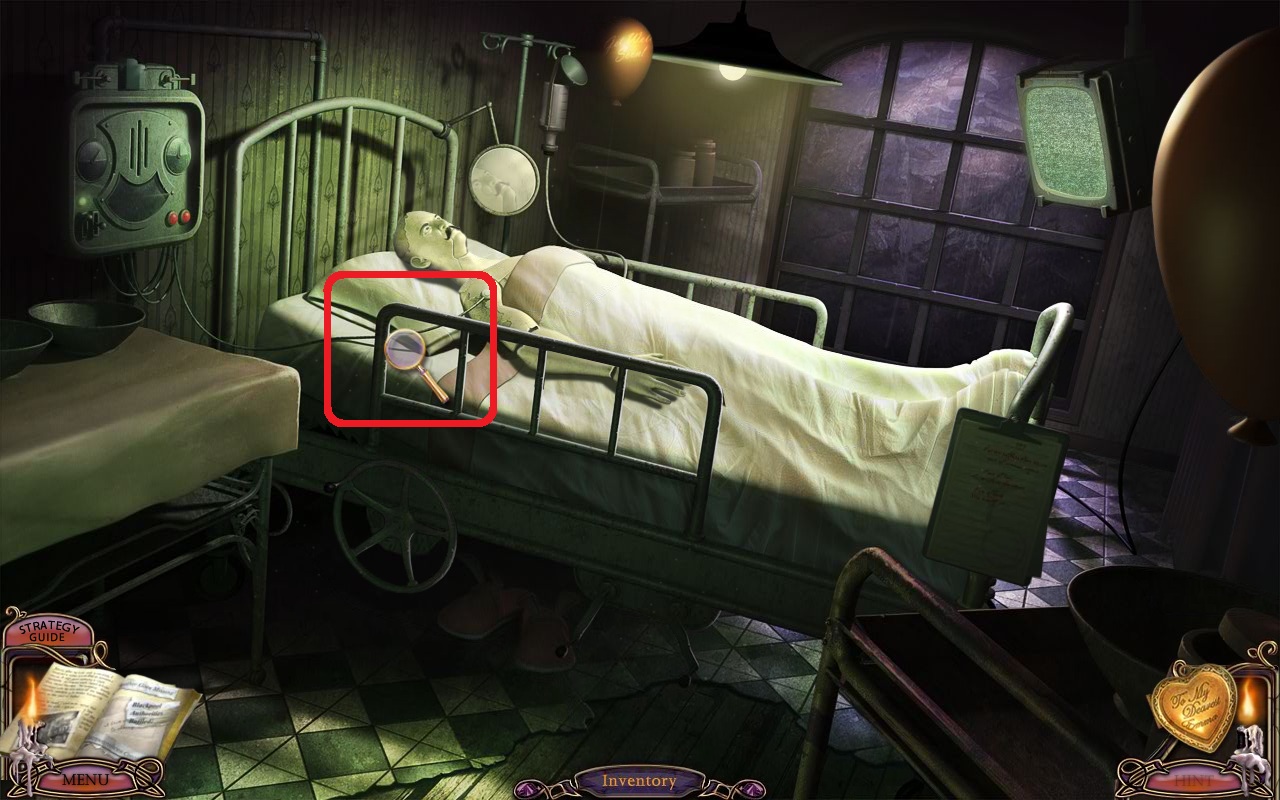
- Click twice to take the RED HANDLE.
- Go all the way back to the Asylum, to the upstairs room on the left.
- Add the blood to the green beaker.
- Now we need tears to finish the tranquilizing potion.
- Go to the room across the hall, with the mannequin undergoing electroshock treatments.
- Click on the back window to open it.
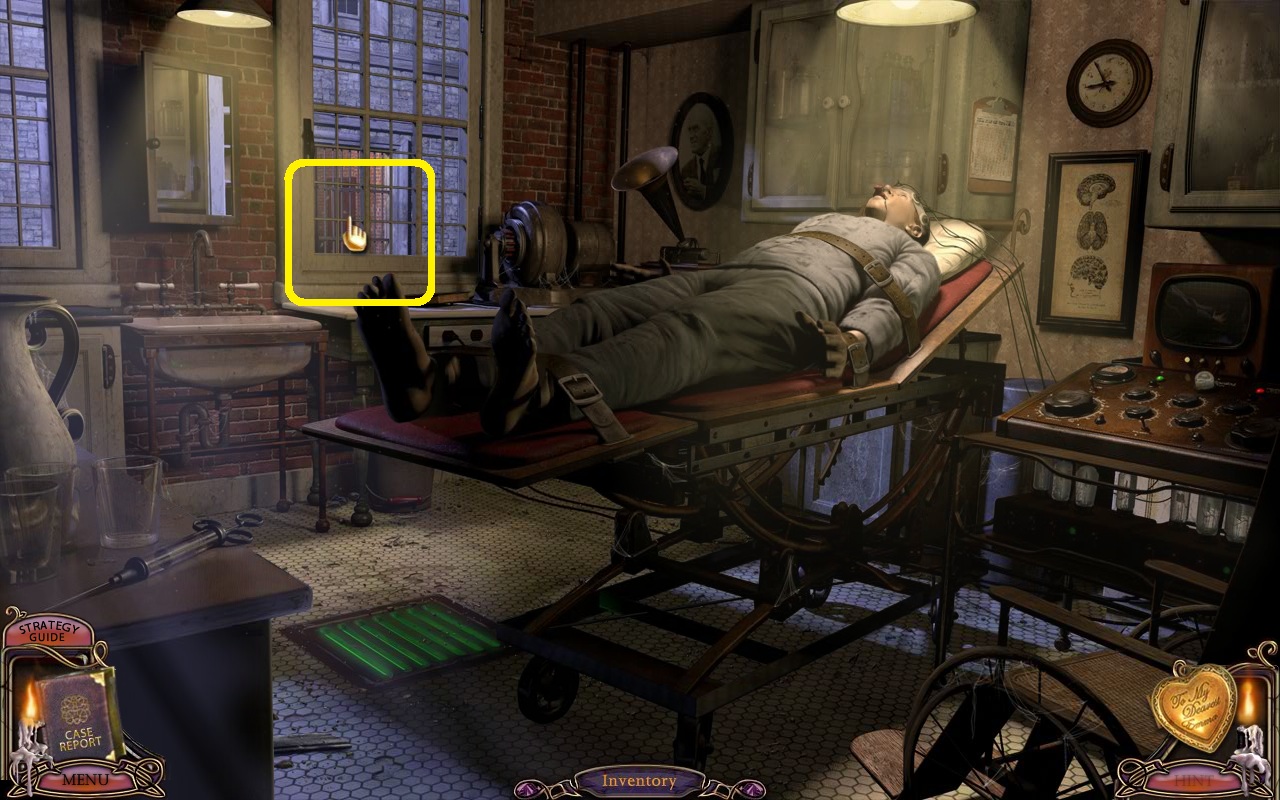
- Click the BED SHEET on the window.
- Click to go out the window. Zoom in on the manhole cover.
- Click the LIQUID NITROGEN on the manhole cover.
- Click the PICK AXE on the manhole cover.
- Go down the manhole.
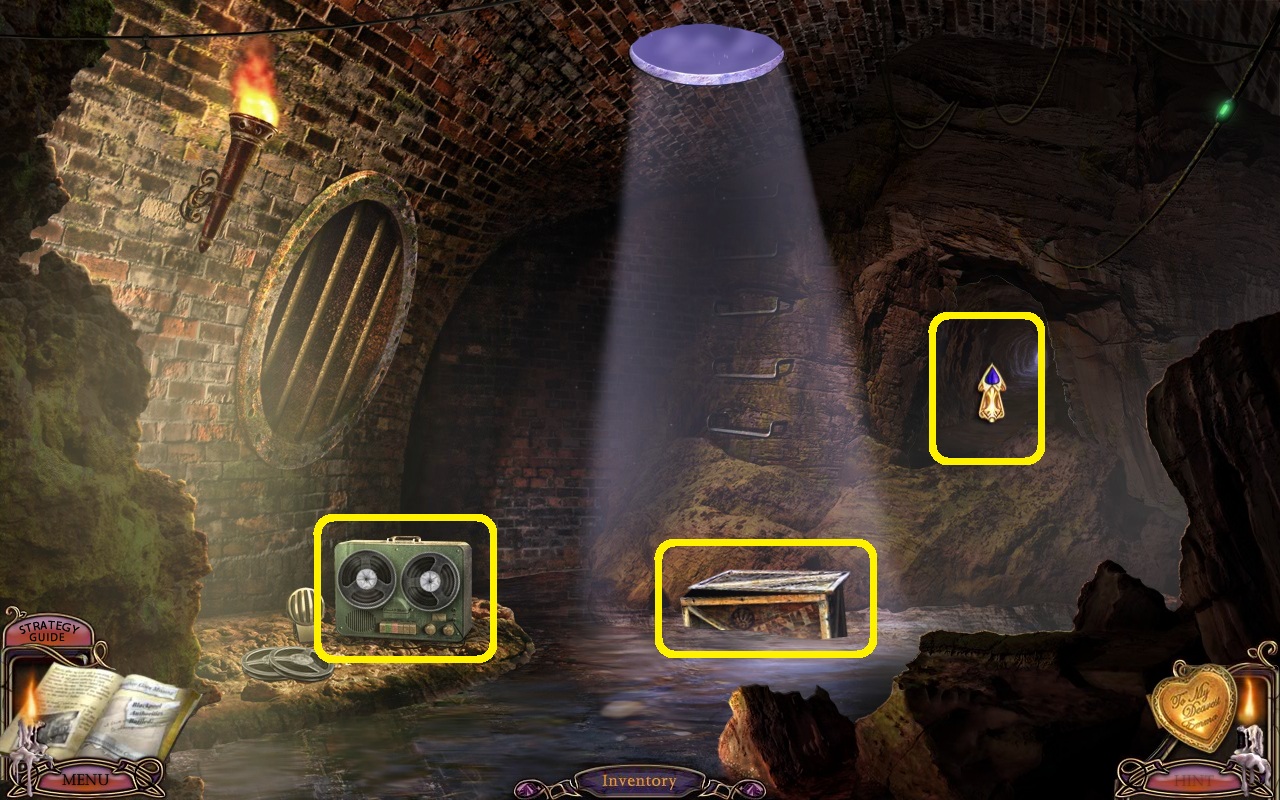
- Zoom in on the tape player on the lower left.
- Click the buttons below the tape to stop the tape.
- Click on the tape reel to remove it.
- Place the tape REEL from inventory on the tape player.
- Click the buttons below the tape reel to play the tape.
- Listen to the tape; note that Charles' patient number is 7149.
- Click on the crate to zoom in.
- Click to open the cover. Take the DYNAMITE.
- Click the PICK AXE on the rocks at the back 3x.
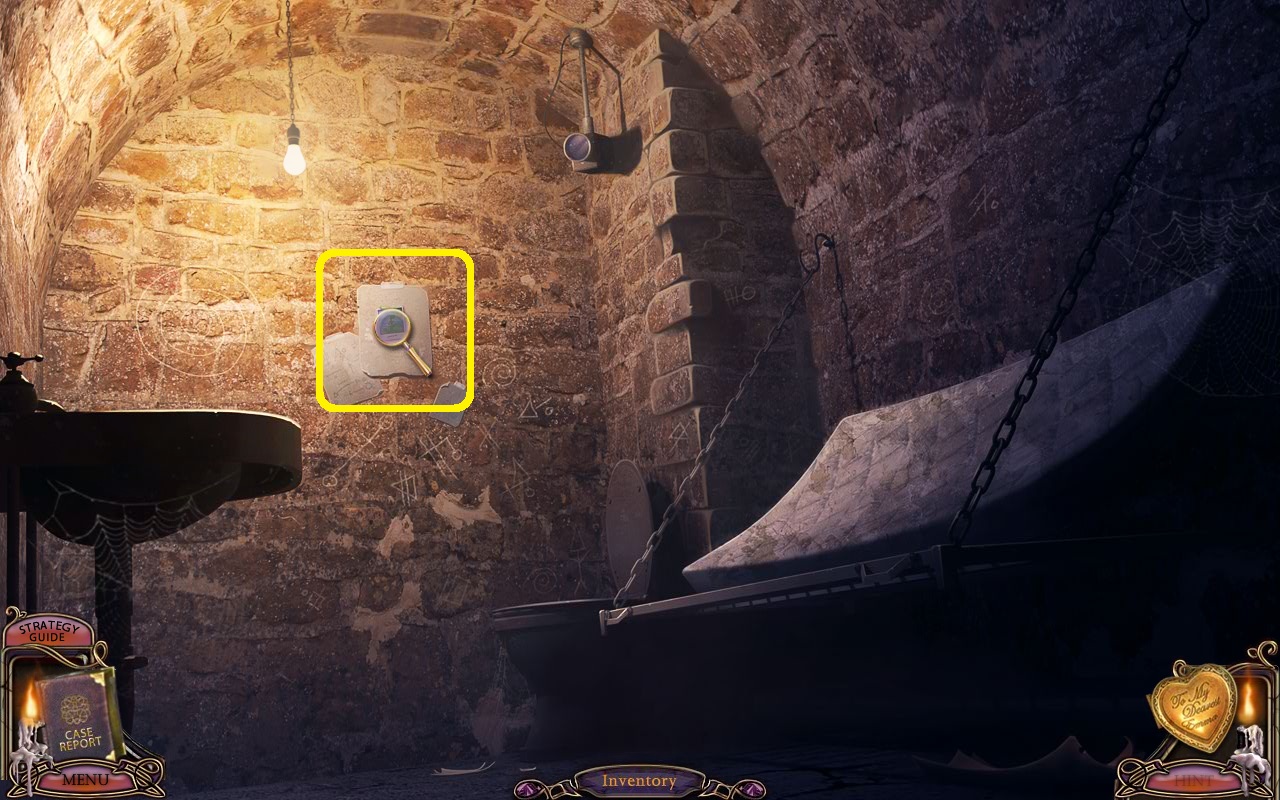
- Exit the cave through the opening at the back.
- Well, well, well! Look where we are! (Read your Case Report Book for the reason why we don't get the heck out of Ravenhearst right now...)
- Click to take the LADDER.

- Climb up the cliff, and go to the main gate.
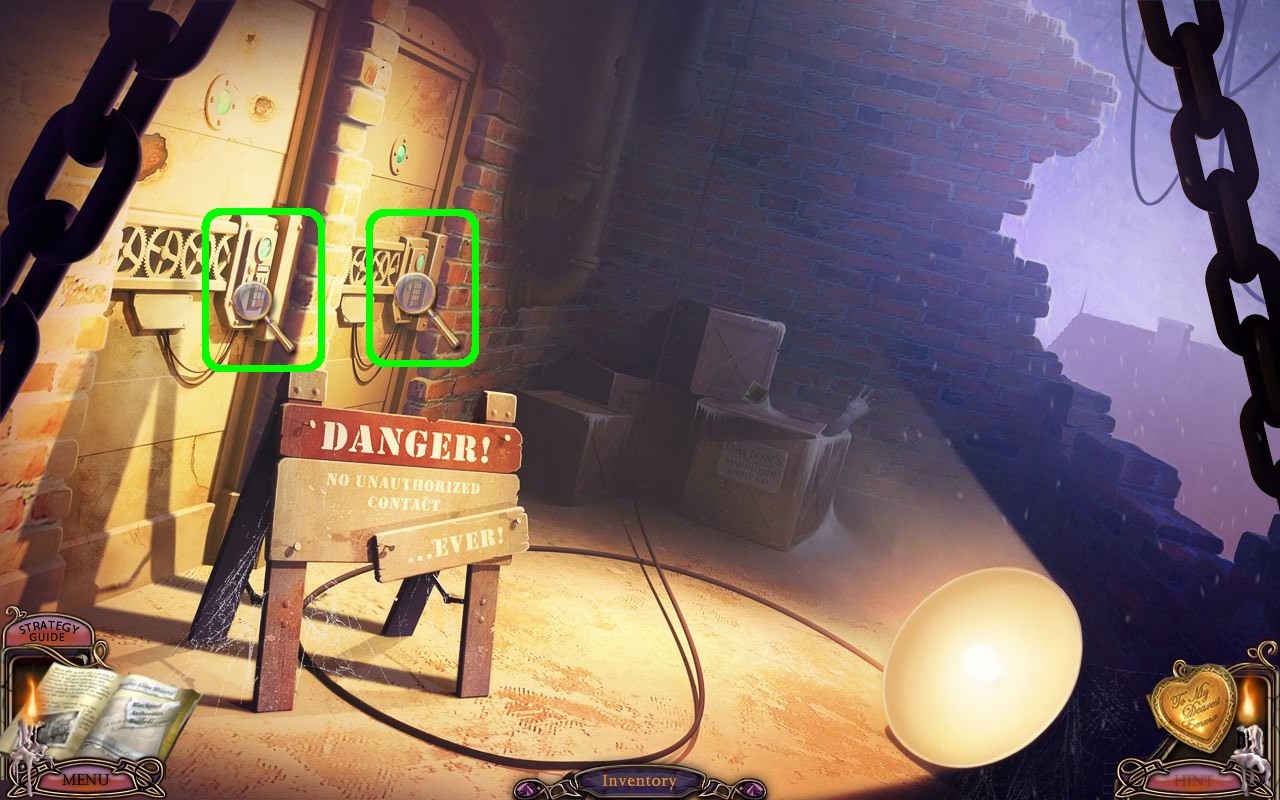
- Zoom in on the intercom left of the gate.
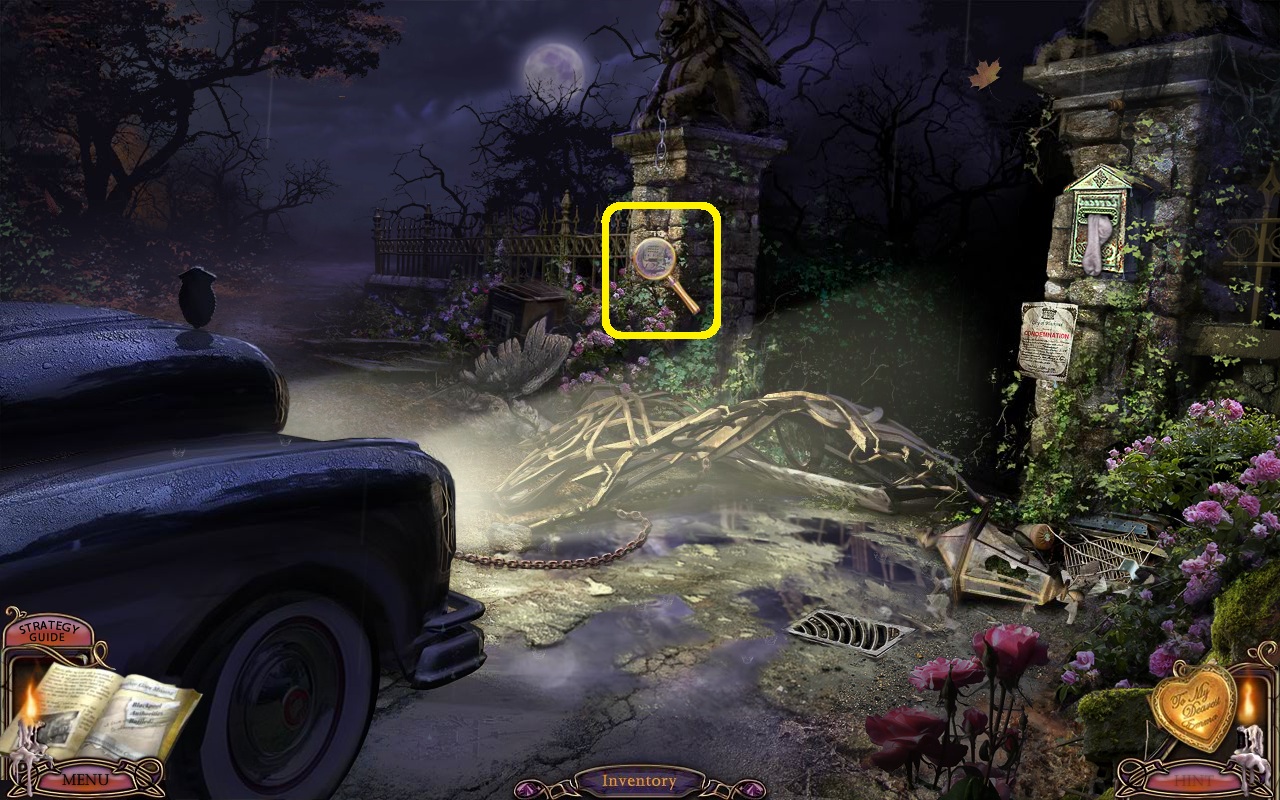
- Use the WIRE CUTTERS on the RED WIRE, BLUE WIRE, YELLOW WIRE, and GREEN WIRE to take them into inventory.
- Go all the way back to Momma's house.
- Zoom in on the cable on the floor.
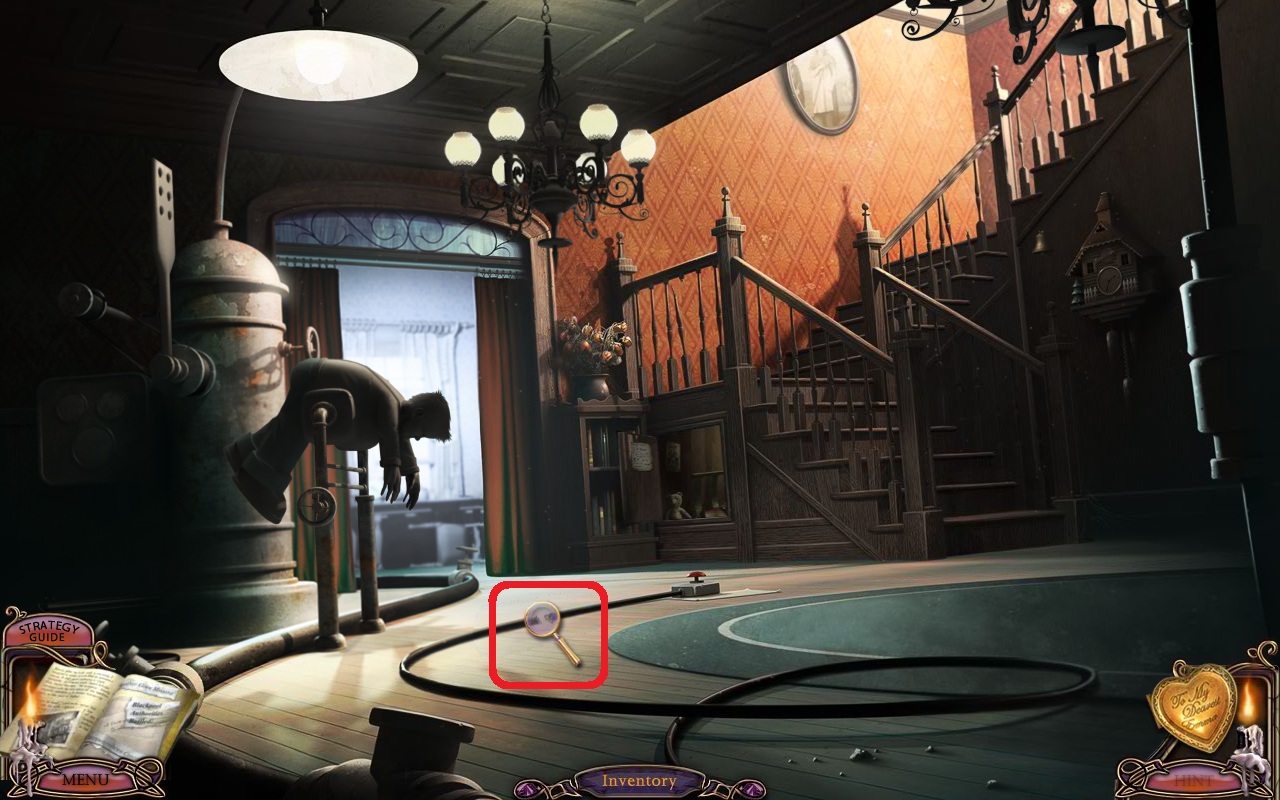
- Click to add the RED WIRE, BLUE WIRE, YELLOW WIRE, and GREEN WIRE to the cable.
- Zoom in on the big red button on the floor, just to the right of the cable repair.
- Click the big red button to activate the spanking machine.
- Watch the machine spank the mannequin-boy.
Note that it will spank him 5x no matter where the dial is set. - Zoom in on the mannequin-boy's face.
- Click the EYEDROPPER on his tears to get a DROPPER OF TEARS.
- Return to the Asylum.
- Go back to the room on the left at the top of the stairs, and add the DROPPER OF TEARS to the green beaker.
- Click on the green beaker to take the SLEEPING POTION.
- Go downstairs, to the room at the far end of the hall.
- Optional: Click on the table to play cards with the mannequin.
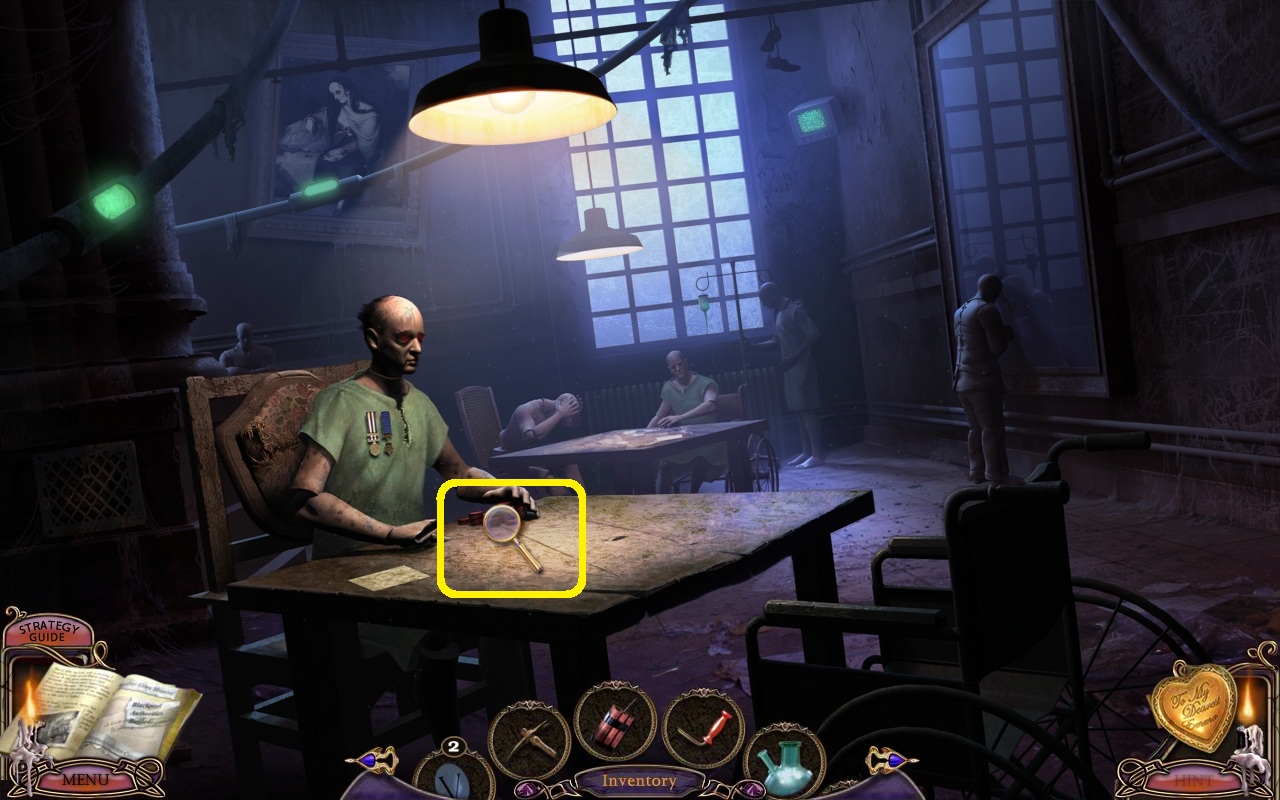
- After he deals, click on any of the bottom cards. You will lose every time.
- Zoom out of the closeup, then zoom in on the mannequin's head.
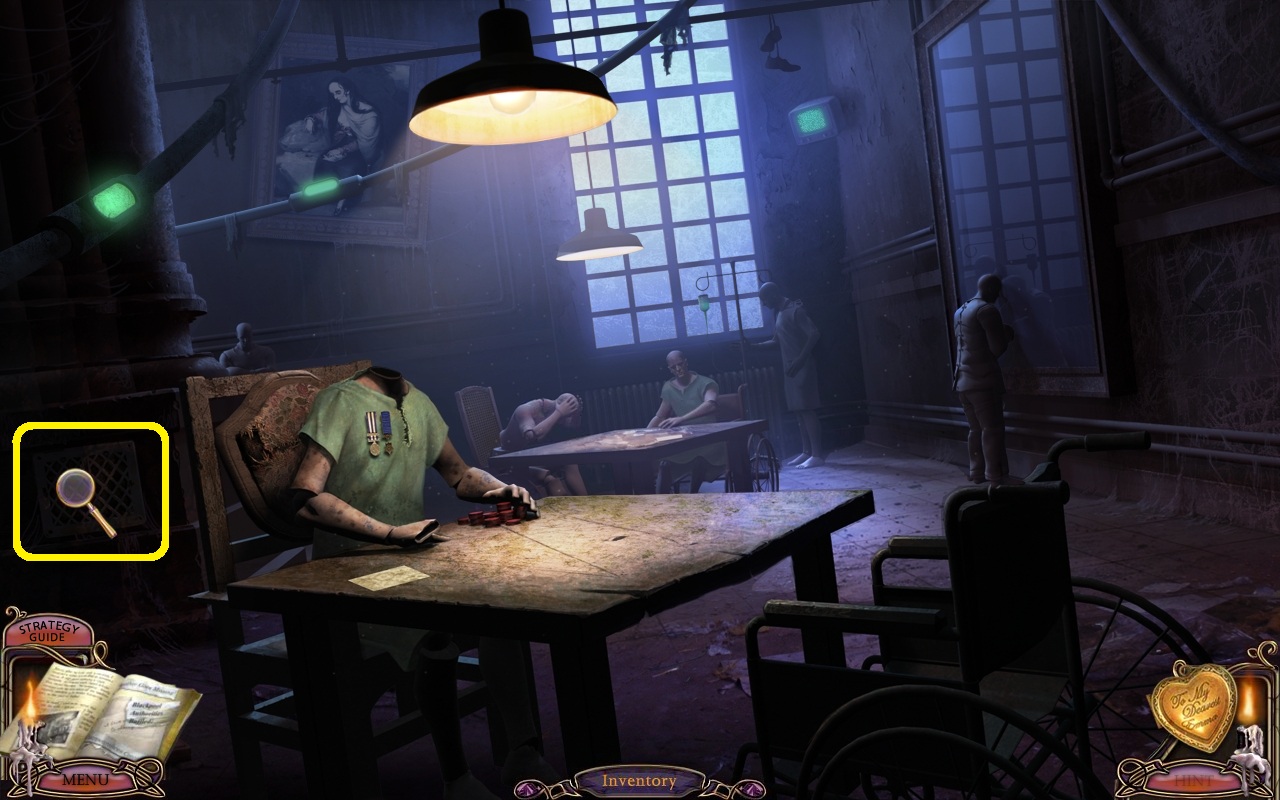
- Use the RAZOR on the mannequin's head 3x.
- Click to open the panel.
- Use the ICE PICK on the lobotomy dial.
- Now that the mannequin is lobotomized, let's play cards again.
- Click on the table. When the cards are dealt, click on any in the bottom row.
- The mannequin loses, and his head explodes.
- Click on the mannequin's neck. Take the PROPOSAL KEY.
- Click on the vent grate behind the mannequin.
- Use the ICE PICK on the grate.
- Place the SLEEPING POTION in the vent.
- Exit this room and go up the stairs to the landing.
- Go right at the landing and enter Cell Block A.
- In this COS there are twelve changing objects, but they are inside the cells. You must zoom in on each cell window to see them.
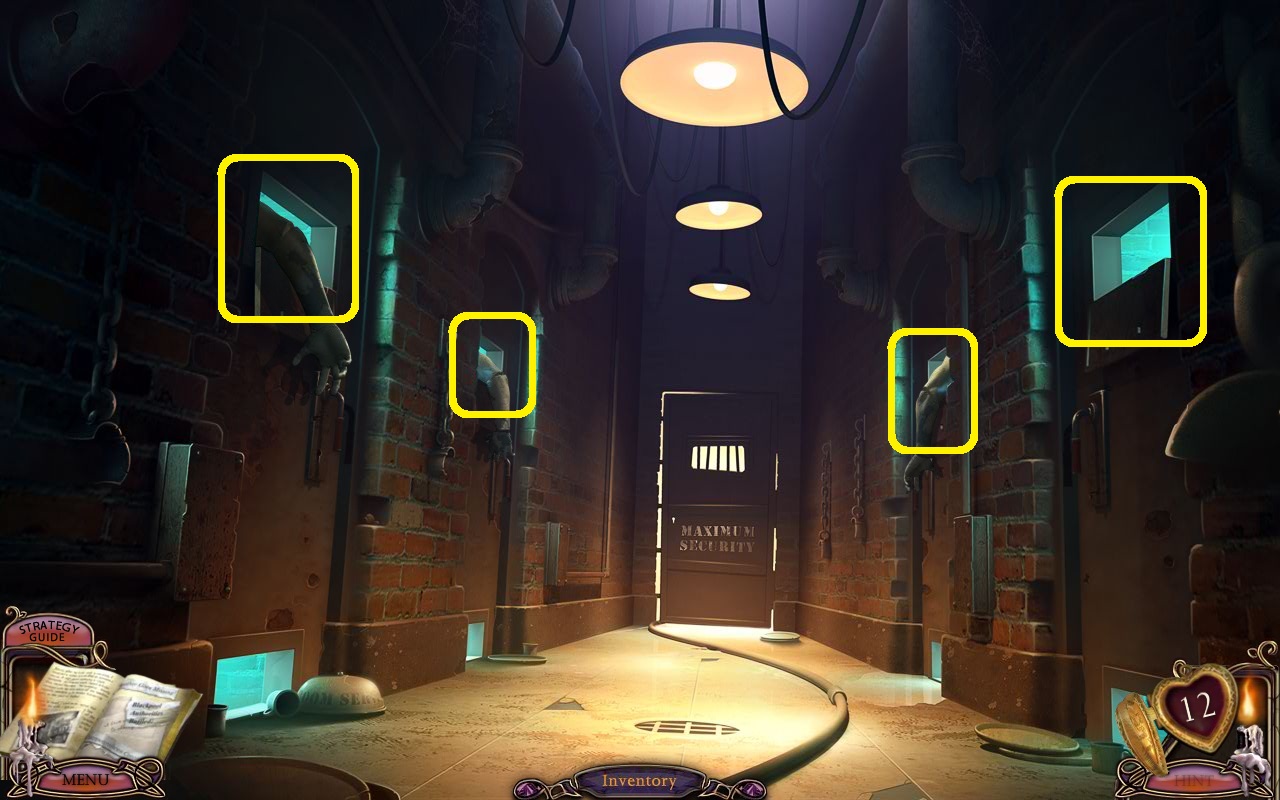
- Click on the twelve changing objects.

- Watch the cutscene.
- Enter the room at the end of the hall.
- Zoom in on the top of the crate at the middle of the screen for a closeup of "something new...".
- Zoom in on one of the locks on the doors to the left. We'll need to get into those cells.
- Exit the closeup, back to the stairs, and go left at the landing.
- Enter the room on the right. Climb out the window.
- Place the LADDER against the top left window.
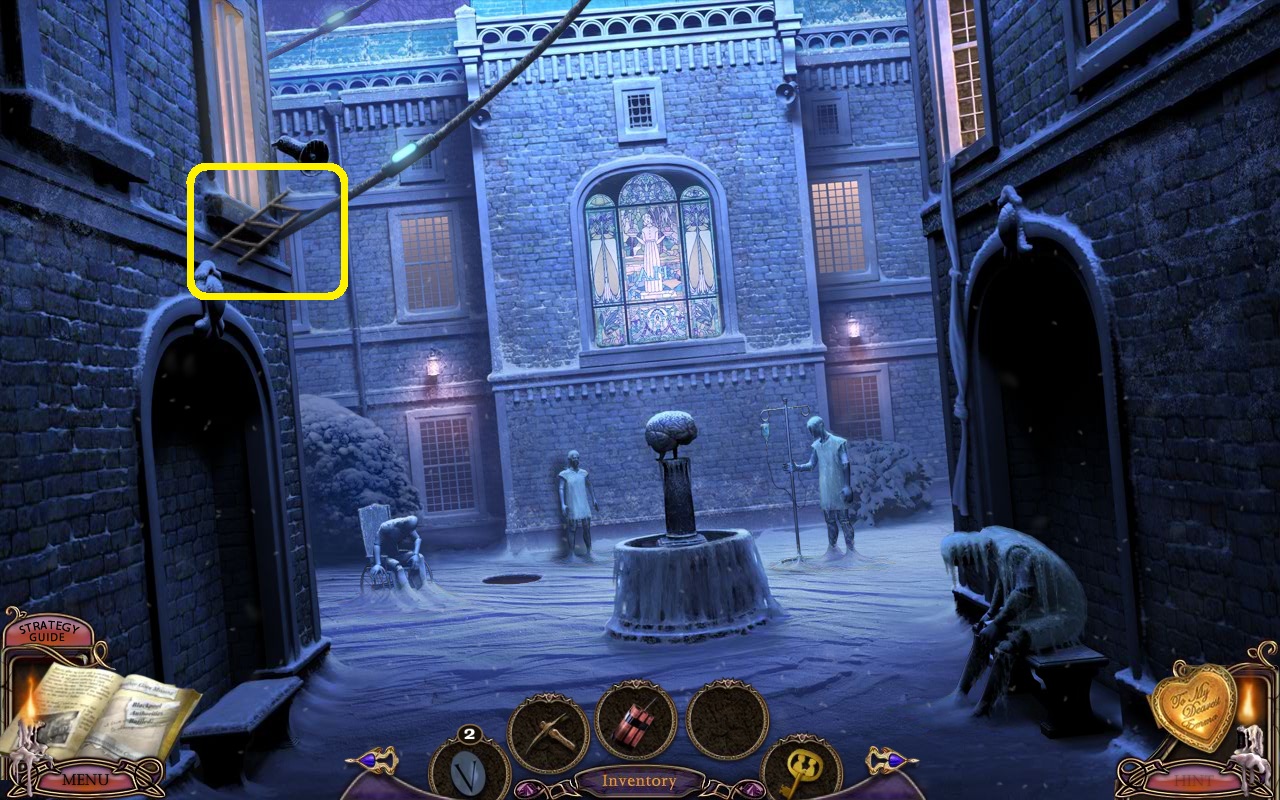
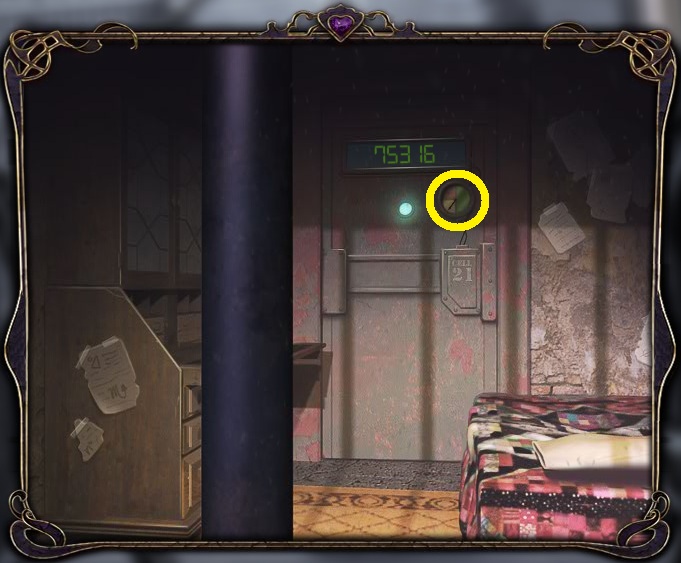
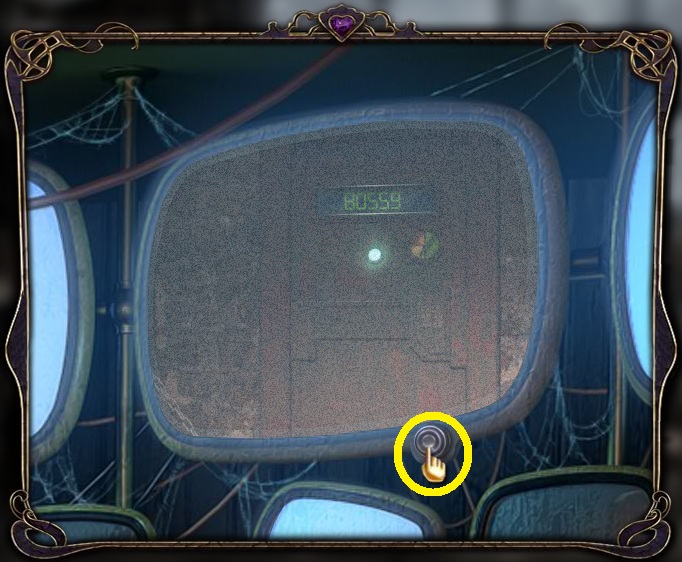
- Climb up the ladder and have a look inside Cell 21.
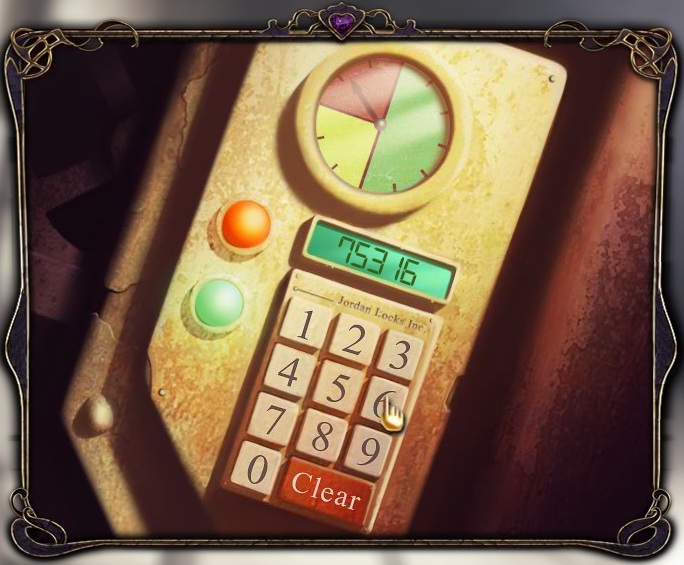
- The lock code is displayed on the door. It changes every 60 seconds.
- Take note of the position of the dial on the right; it shows how much time you have before the code changes. If it's in the red, wait for it to change!
- Once you have the code written down or memorized, exit the closeup, and go directly back to Cell Block A.
- Zoom in on the door on the left, and enter the code by pressing the numbers on the keypad.
- When the door opens, enter the cell.
- You can click on the doll house on the left, and the wall on the right.
- Click on the red book on the desk at the lower right.
- Enter Charles' patient number (obtained by listening to the tape down in the manhole): 7149.
- Read the journal entry. Exploding apple pie!
- Before we corrupt any pastries, however, we're going to get into the cell next door.
- Go downstairs, to the security room.
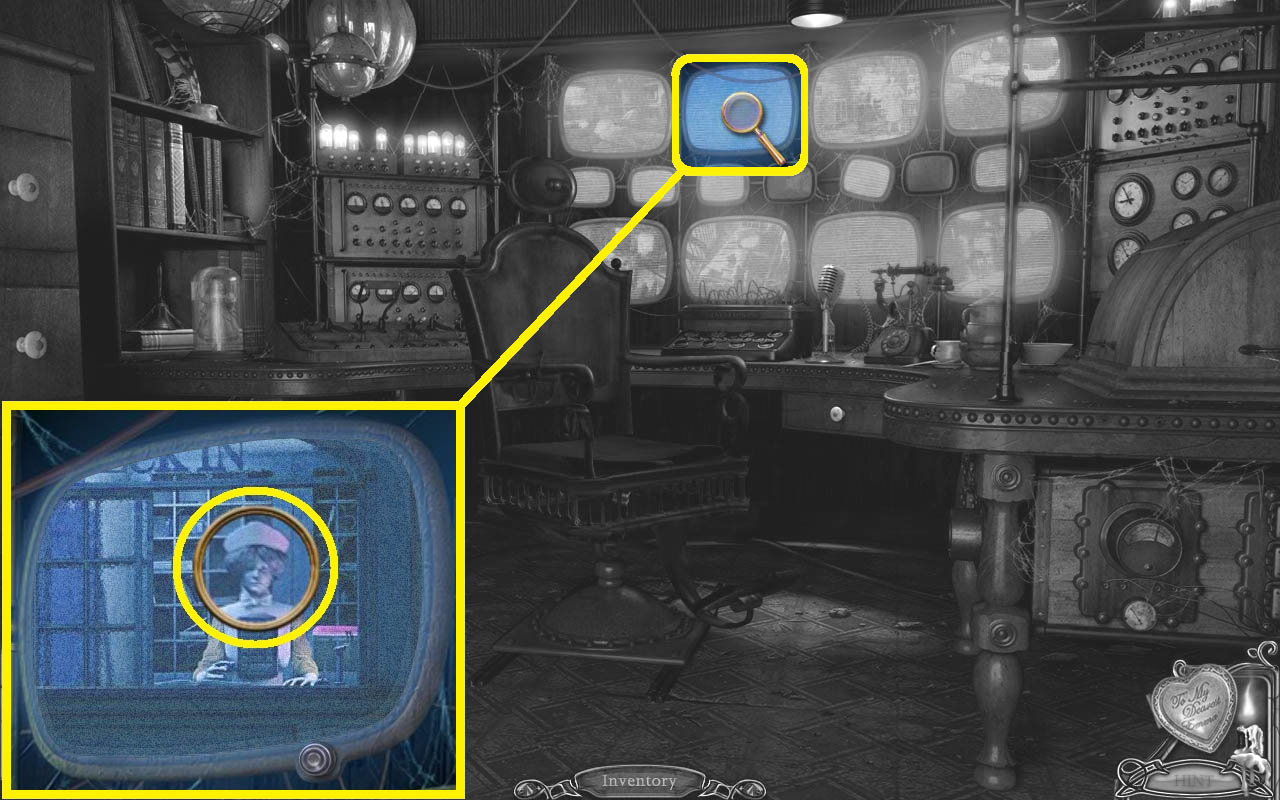
- Zoom in on the monitor second from left, top row.
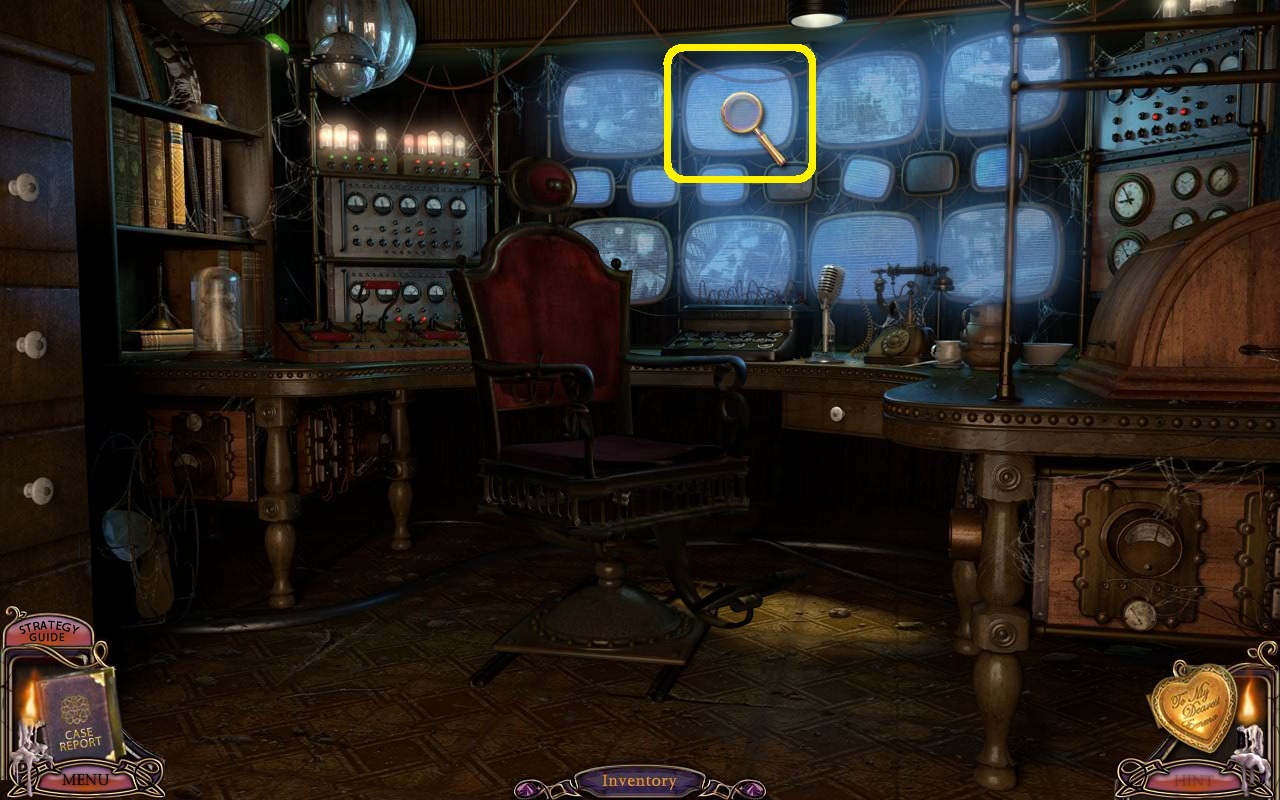
- Click the button at the bottom 7x.
- Note the code, and how much time you have left to use it.
- Quickly return to Cell Block A and enter the code using the keypad on the door right of the first door.
- Enter the cell.
- Click on the wall for a closeup of "something blue".
- Time to make some exploding fruit. Go to Momma's house.
- Enter the kitchen, and zoom in on the apple pie on the table.
- Place the DYNAMITE in the pie.
- Click to take the PIE.
- Head upstairs to Momma's room.
- Zoom in on Momma's face, and stuff the PIE in her mouth. Click 3x.
- Exit Momma's room, and go downstairs.
- Watch the explosion.
- When the dust settles, head back upstairs.
- Since we're here, go in the bathroom and zoom in on the bottom left of the sink pedestal.
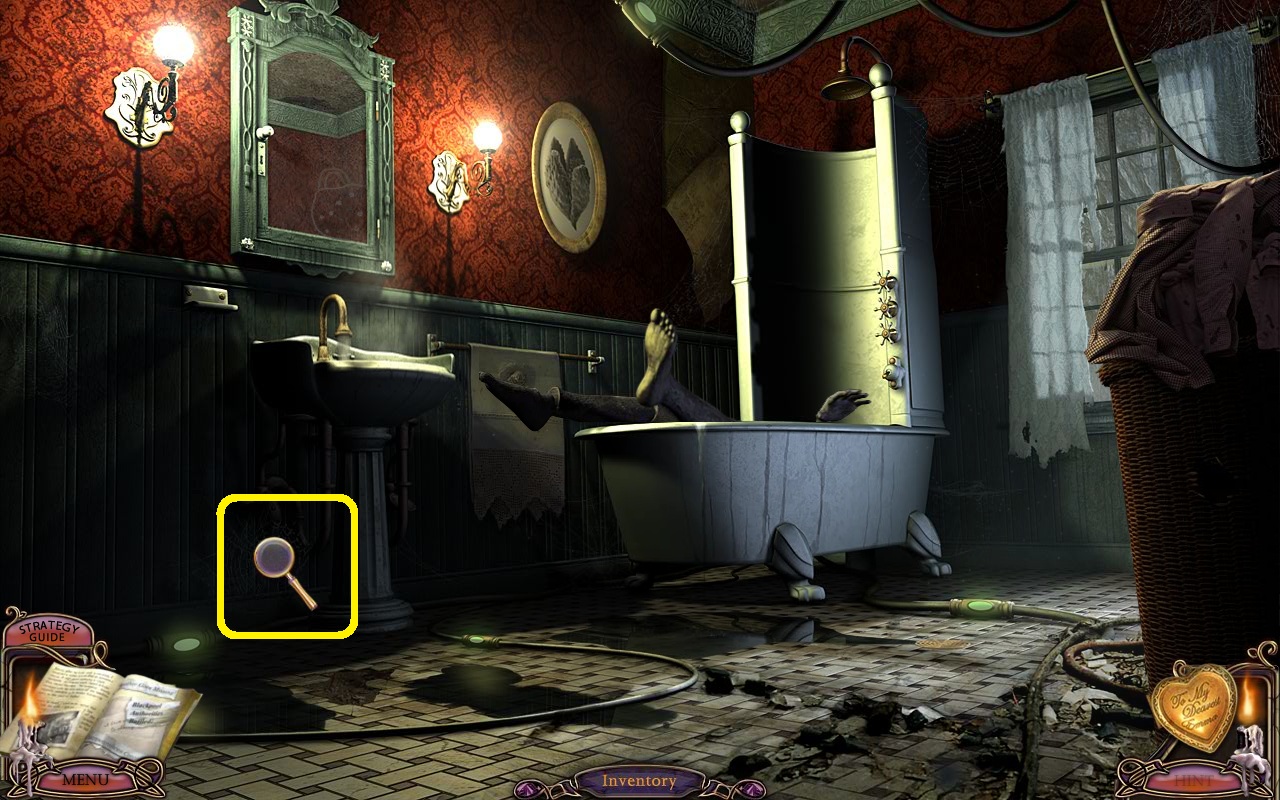
- Click to take the GREEN HANDLE.
- Go to Momma's room for a COS.
- Click on the fourteen changing objects.
- Click to zoom in on the heart-shaped box.
- Take the WEDDING RING.
- Leave Momma's house.
- Go to the hub.
- Click on Rose's tank, on the far left.
- Click the PROPOSAL KEY on the keyhole.
- Take the six DOOR TOKENS.
- Return to Ravenhearst Manor (through the Asylum window, then the manhole).
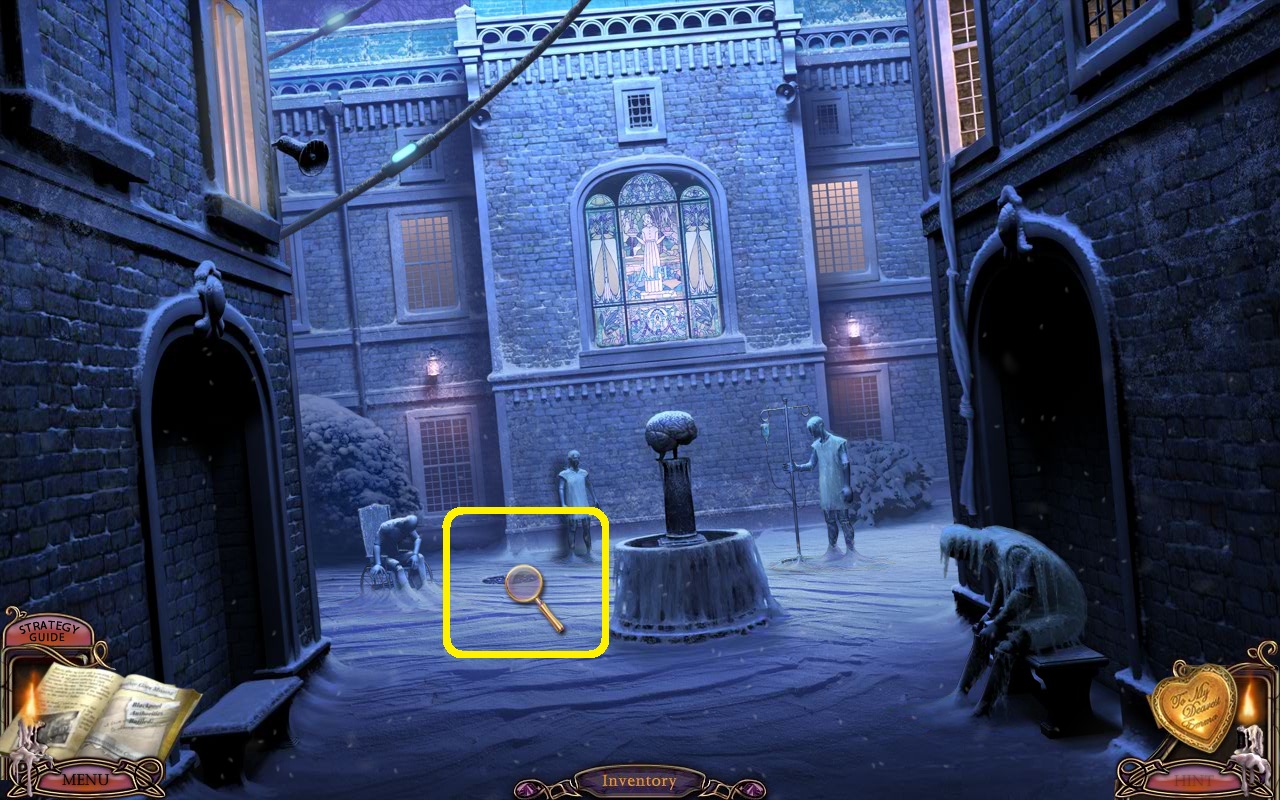
- Go through the front gate, and zoom in on the fountain at the right.
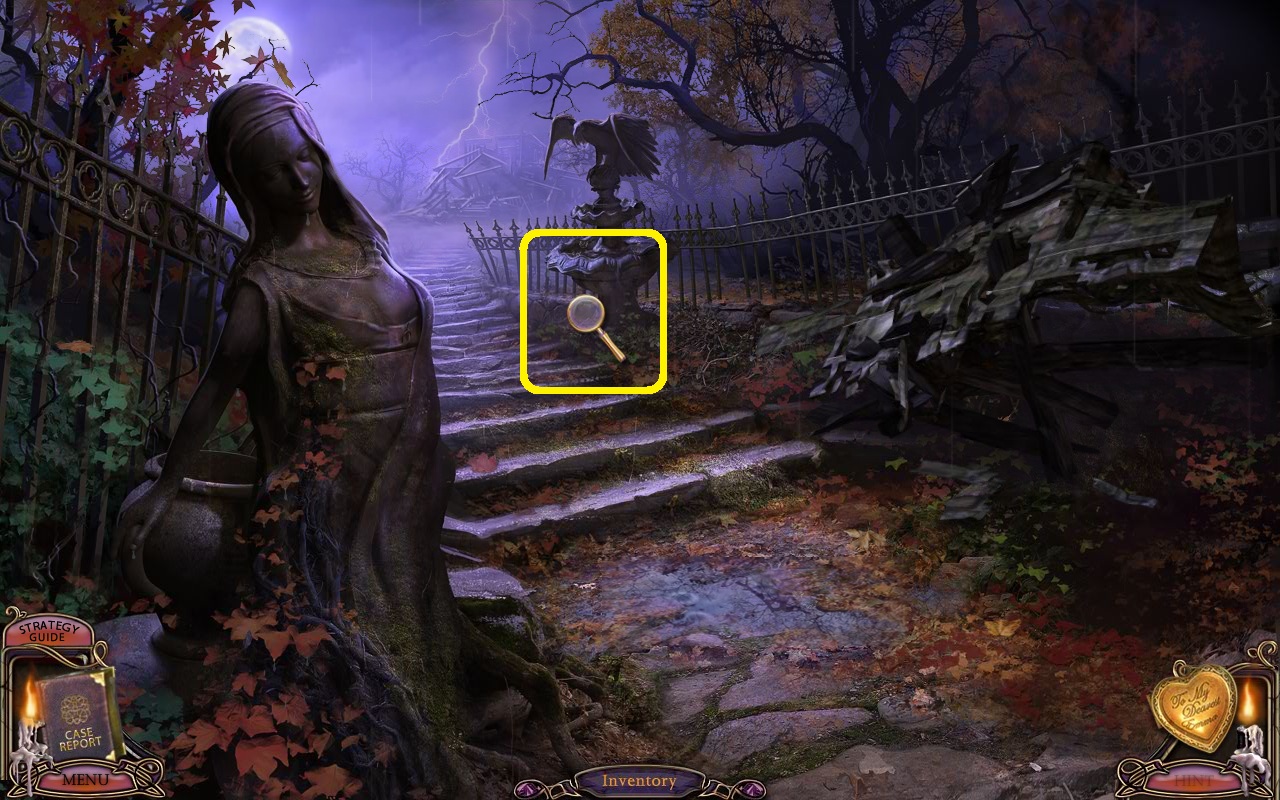
- Pick up the BLUE HANDLE.
- Run around activating the Proposal Door tokens.
Proposal Door Tokens
This set of tokens requires some work to make the scene match the token.
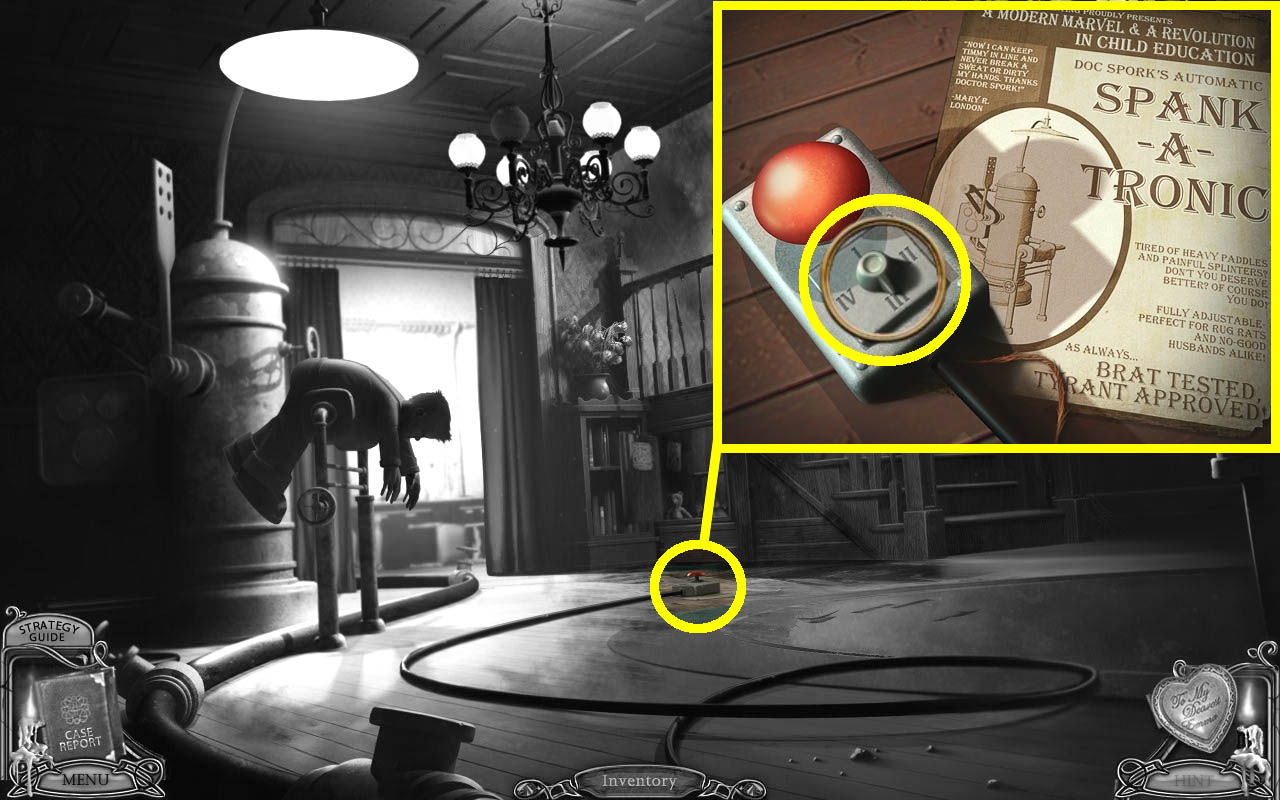
- Momma's House: Turn the dial on the Spank-a-Tronic to III.
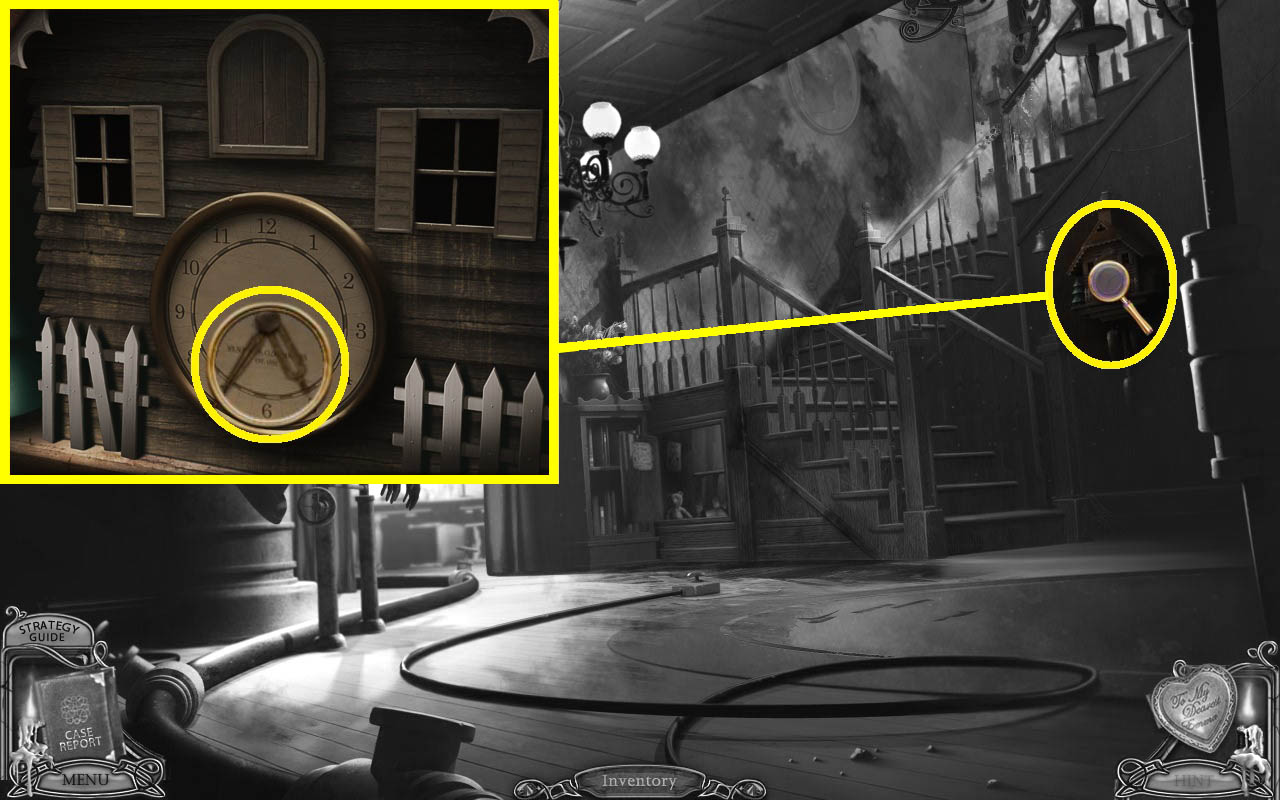
- Momma's House: Turn the short hand on the cuckoo clock to 5 and the long hand to 7.
- Asylum Security Room: Click the round moniter button (in closeup) 2x.
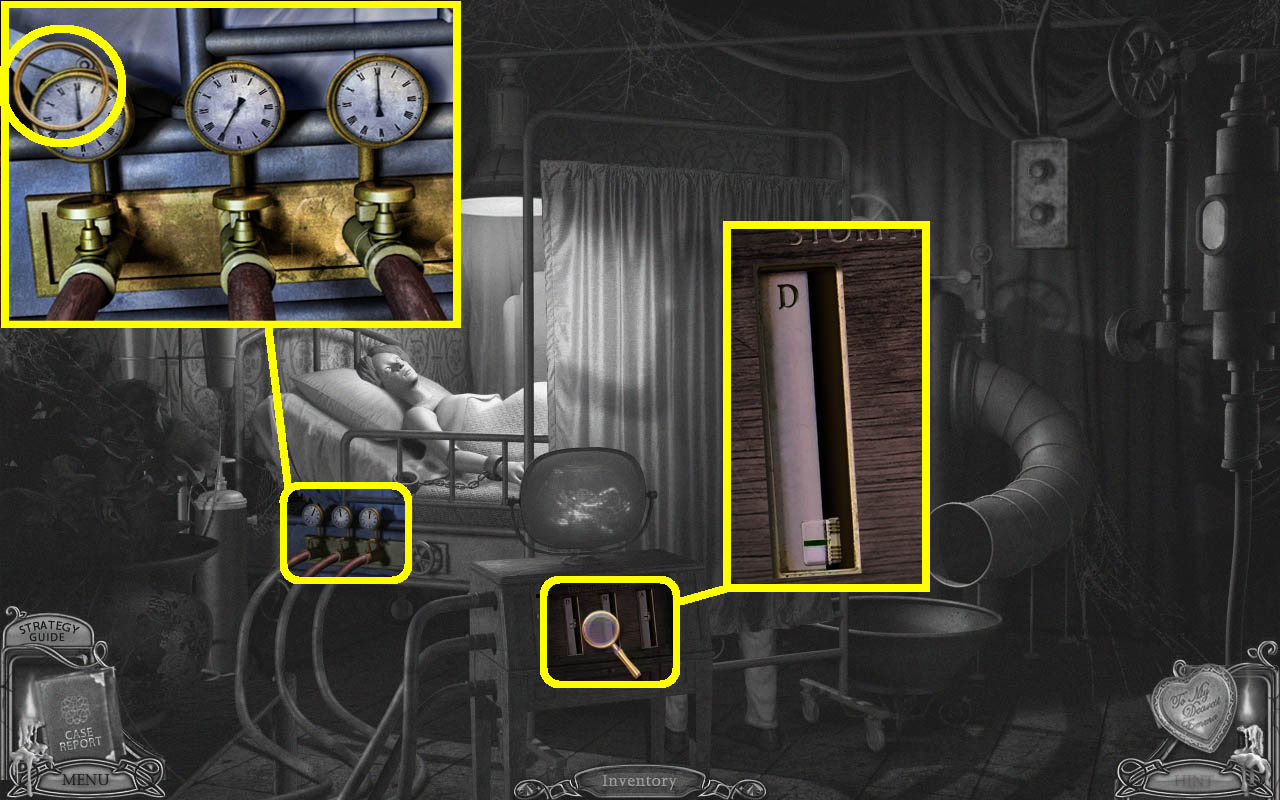
- Hospital Delivery Room: Set the "D" slider on the DNA panel to the very bottom so the leftmost gauge will be at 12.
- When all tokens are activated, return to the hub.
- Place the tokens on the Proposal Door.
- Watch the cutscene.
- Go through the door.