
Working with Facebook Lists
Create a Facebook List
Step 1: Make sure you are on your facebook wall, and not your profile page. (Click on "Home" at the top right of the page to go to your Wall. Conversely, you would click on your name or profile picture to go to your Profile Page.)
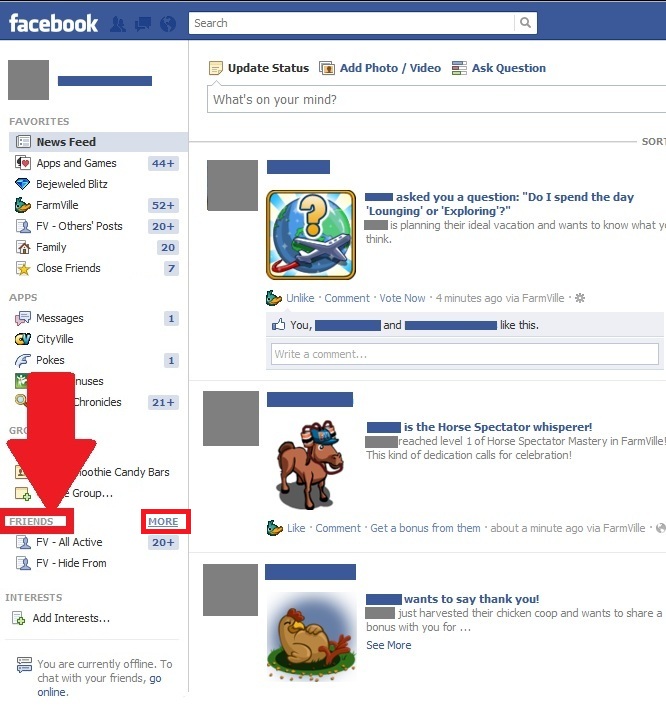
Step 2: On your facebook wall, look at the stuff on the left. Somewhere there will be a section labeled "FRIENDS." Find it.
Hover the mouse over the word "FRIENDS." To the right, you should see a link labeled "MORE." Click on it.
By the way, anyone who can tell me why the section is labeled "FRIENDS" and not "LISTS" gets a gold star...
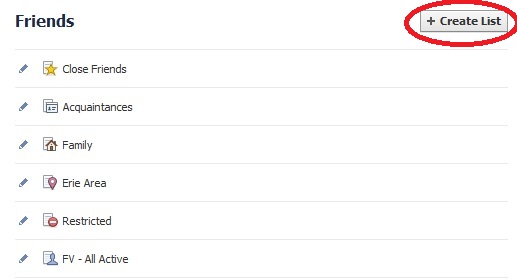
Step 3: You will arrive at the "Create List" page. Click on "Create List:"
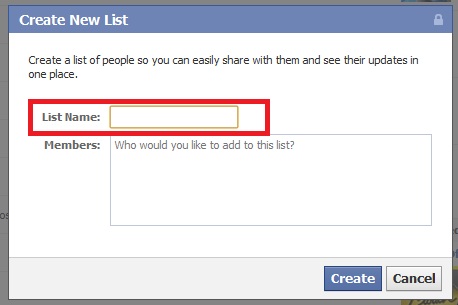
Step 4: Choose a name for your new list and type it in the box. Then click the "Create" button:
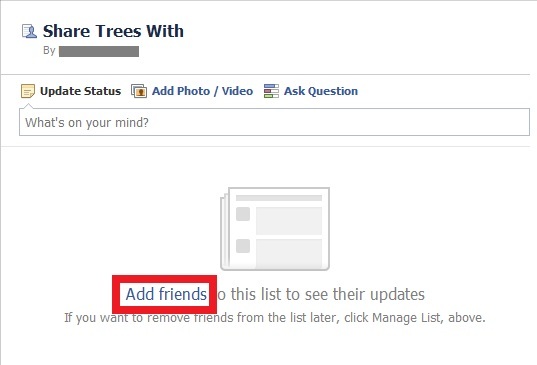
Step 5: Click on "Add Friends:"
Step 6: Make sure "Friends" is selected in the button at the top left:
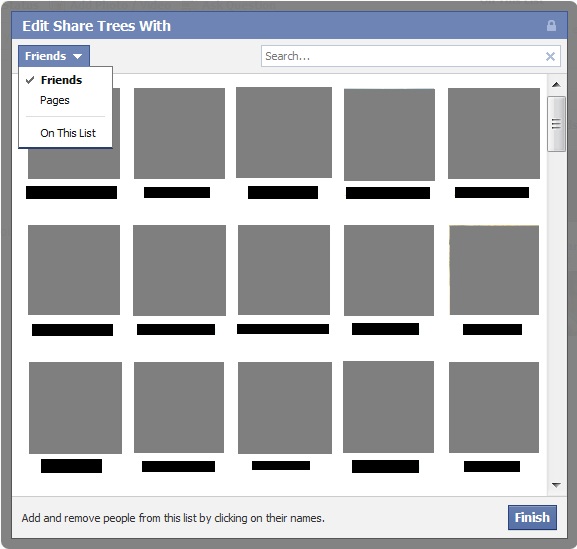
Step 7: Click on the images of all the friends you want to be on the list. If you make a mistake, click on the friend's image again to remove them from the list. When you're done, click "Finish."
That's it! You've created a list!
Edit a Facebook List
Step 1: Click on the name of the list at the left to go to the list.
Step 2: Click on "Manage List" at the top right:
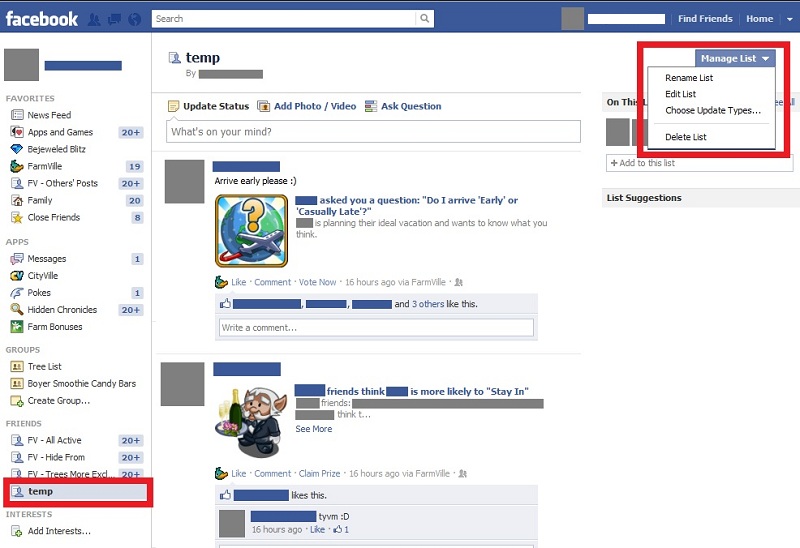
You have four options...
1. Rename List
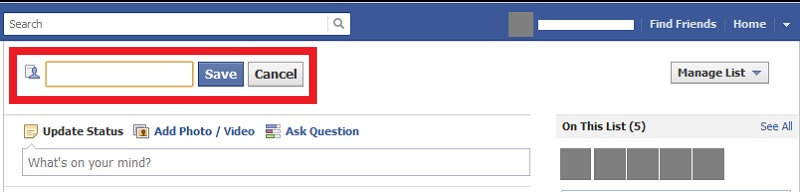
Click on "Rename List." A box will appear at the top of the page in which you can type the new name.
When you are done typing, you can click "Save" or simply hit the "Enter" key on your keyboard. You can also "Cancel" if you change your mind.
2. Edit List
Clicking on "Edit List" will take you to the familiar "Edit" box. This time you can choose "On this List" at the top left (to view only the friends on the list), or "Friends" (to view all your friends.) If you wish to add friends, choose "Friends." If you only wish to remove friends, you can choose "On this List."
Just like you did when you created the list, click on a friend's image to add/remove them from the list. When you're done, click "Finish."
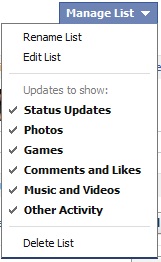
3. Choose Updates
Clicking on "Choose Updates" will display a checklist of updates you can see from the friends on this list (Status Updates, Photos, Games, etc.) You can ignore this option. Using lists to view Farmville posts does not work, so this option is irrelevant.
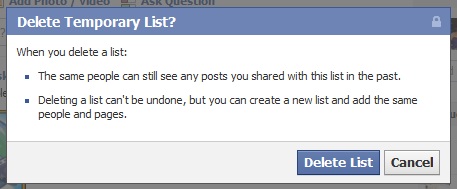
4. Delete List
Clicking on "Delete List" will bring up a confirmation box, so don't panic! If you really want to delete the list, then choose "Delete List" at the confirmation box.
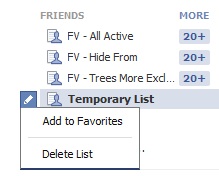
You can also delete the list by clicking on the pencil icon to the left of the name of the list:
Control your post visibility / Working with Facebook Lists / TinyURL Hints